Cherchies Blog

apple butter spread

Mardi Gras King Cupcake Recipe

dessertsSheri SpalloneComment
Mardi Gras King Cake Cupcakes Recipe

Mardi Gras King Cake Cupcakes Recipe

Prep Time: 10 minutes

Cook Time: 15 minutes

Difficulty: Easy

Originally posted in 2019.

Happy early Fat Tuesday, everyone! 

Did you know? Fat Tuesday (Mardi Gras) is the day before the Christian Lenten fasting season (Ash Wednesday) begins. "Because Lent is a time of fasting for Christians, the days leading up to Ash Wednesday provide the last opportunity for feasting (including simply eating forbidden items) until Easter. Traditionally it is a time dedicated to eating large quantities of sweets, cakes, and other meals usually not eaten during Lent". -https://en.wikipedia.org/wiki/Fat_Thursday.

"The cake" (the King Cake) for Mardi Gras is usually a ring-shaped, yeasted confection with cinnamon and sugar swirled throughout the batter, white icing on top, and sprinkles of gold (power), purple (justice), green (faith) colored sugar as garnish (mardigrasneworleans.com). And, "each king cake has a tiny plastic baby inside. The lucky person who receives the slice of cake with the baby has the next king cake party (or brings the next cake for the office)".-https://www.mardigrasneworleans.com/history/king-cakes.

Pretty cool, huh?

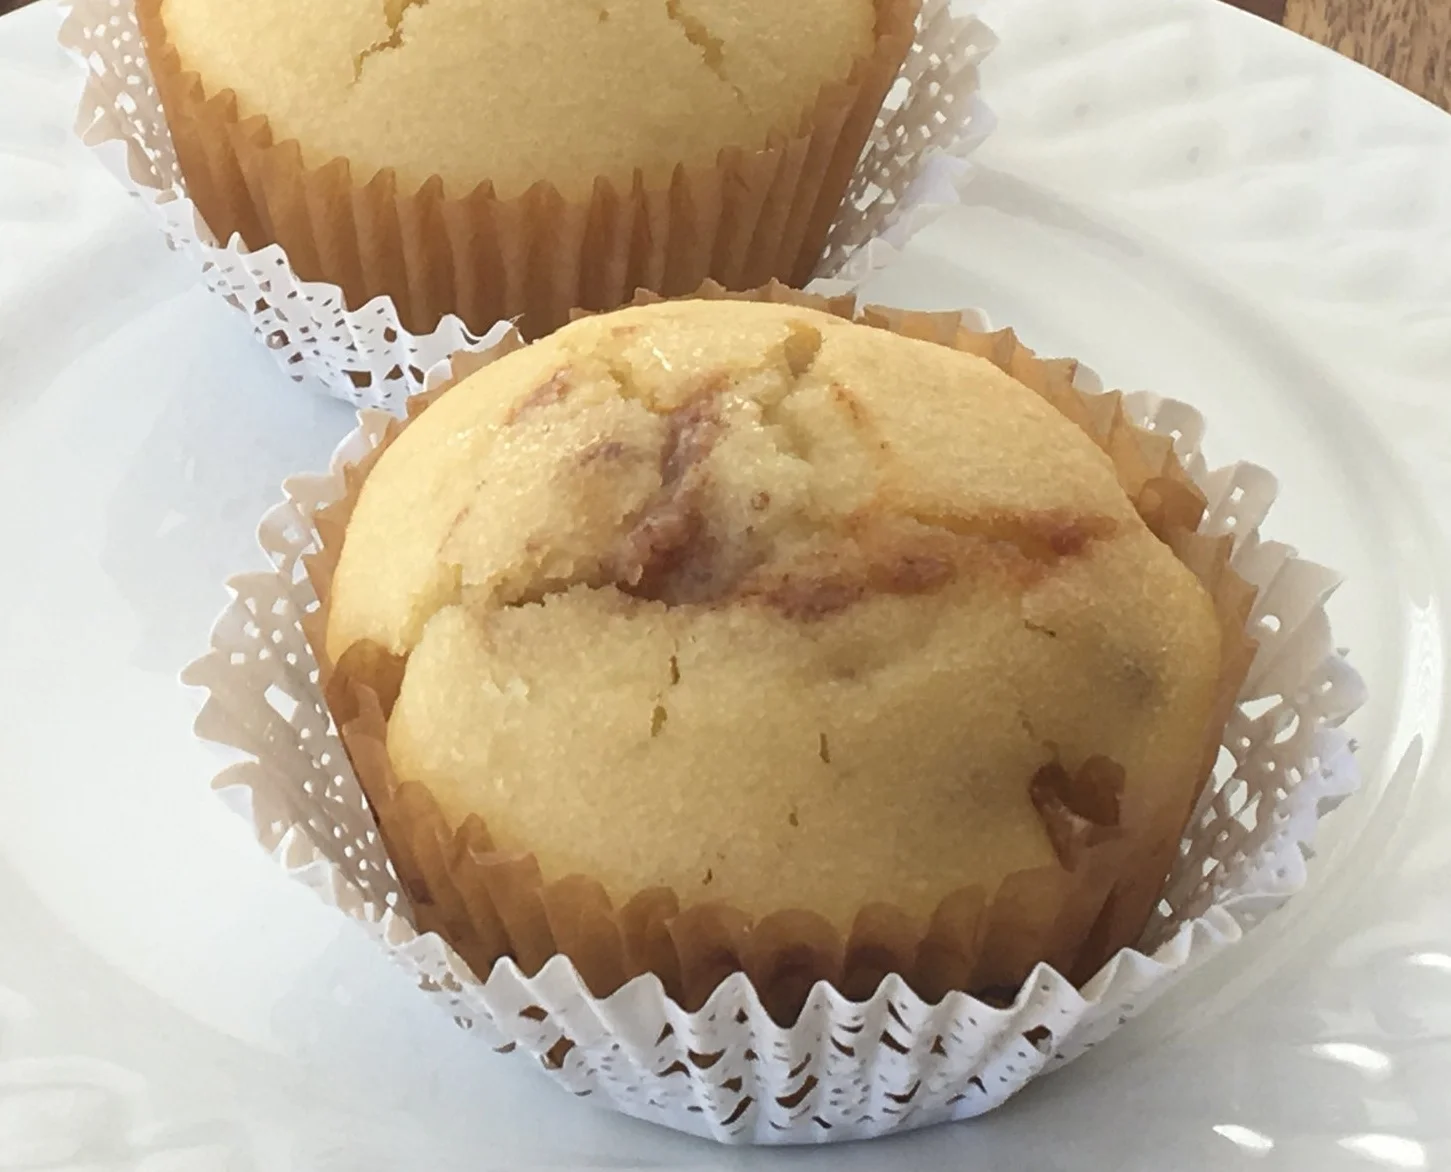
I tend to "bend the rules" in cooking, and my "take" on this New Orleans classic confection, is a cinnamon-swirled vanilla cupcake filled with apple butter, dolloped with a creamy buttercream frosting, and adorned with the traditional colors of Mardi Gras (gold, purple, and green). In our version, the apple butter filling (Cherchies® Apple Butter Spread) replaces the baby. (However, if you plan on bringing these tasty treats to a Mardi Gras party, by all means, add a plastic baby to one of the cupcakes! Or, for Easter, add a jelly bean and create a new tradition).  

To celebrate Fat Tuesday in style, make this tasty Mardi Gras King Cupcake Recipe, a delightfully moist vanilla cupcake filled with cinnamony apple butter and topped with creamy buttercream icing. Change the decorations, and you have the perfect cupcake to celebrate any occasion*.  

Thanks for stopping by:) Comment below if you have made this delicious recipe. Come back again for more family-tested recipes, entertaining ideas, and cooking tips using all our favorite Cherchies® gourmet products.

Follow us on social media: Facebook, Instagram, and Pinterest.

*Note: Try this recipe with any of our Butter Spreads or Preserves in the middle if you want to mix things up.    

Ingredients- "Perfect Vanilla Cupcakes"- Recipe adapted from Glorious Treats

Yields- 15-16 cupcakes

  • 1 1/4 cups cake flour*

  • 3/4 teaspoons baking powder

  • 1/2 teaspoon baking soda

  • 1/2 teaspoon salt

  • 3 eggs

  • 1 cup sugar

  • 1 1/2 teaspoons pure vanilla extract

  • 1/2 cup oil (vegetable or canola oil)

  • 1/3 cup milk (whole or low fat, but avoid fat-free)

  • 1/3 cup sour cream (full fat or light, but avoid fat-free)

  • 1/2 jar Cherchies® Apple Butter Spread

  • Ground cinnamon

  • Yellow, green, and purple sprinkles (optional for decoration)

*Note- if you do not have cake flour, use this simple substitution; for every cup of flour, remove 2 Tablespoons (Tbsp) of flour, substitute with cornstarch, and sift together several times.

*Another Note- You could substitute any yellow boxed cake mix for the cupcakes, using the ingredients mentioned in the box and following the directions. If you go this route, use the ingredients listed on the box, skip down to the “Preparation for cupcakes” directions below, and add the Apple Butter and cinnamon, as indicated below.

Ingredients for Icing

  • 1/2 cup butter-flavored shortening

  • 1/2 cup butter, room temperature

  • 1/4 teaspoon (tsp.) almond extract

  • 1/2 teaspoon (tsp.) vanilla

  • 4 Tablespoons half & half (milk is fine too)

  • 1 lb. powdered sugar

Preparation

Preheat oven to 325*F.

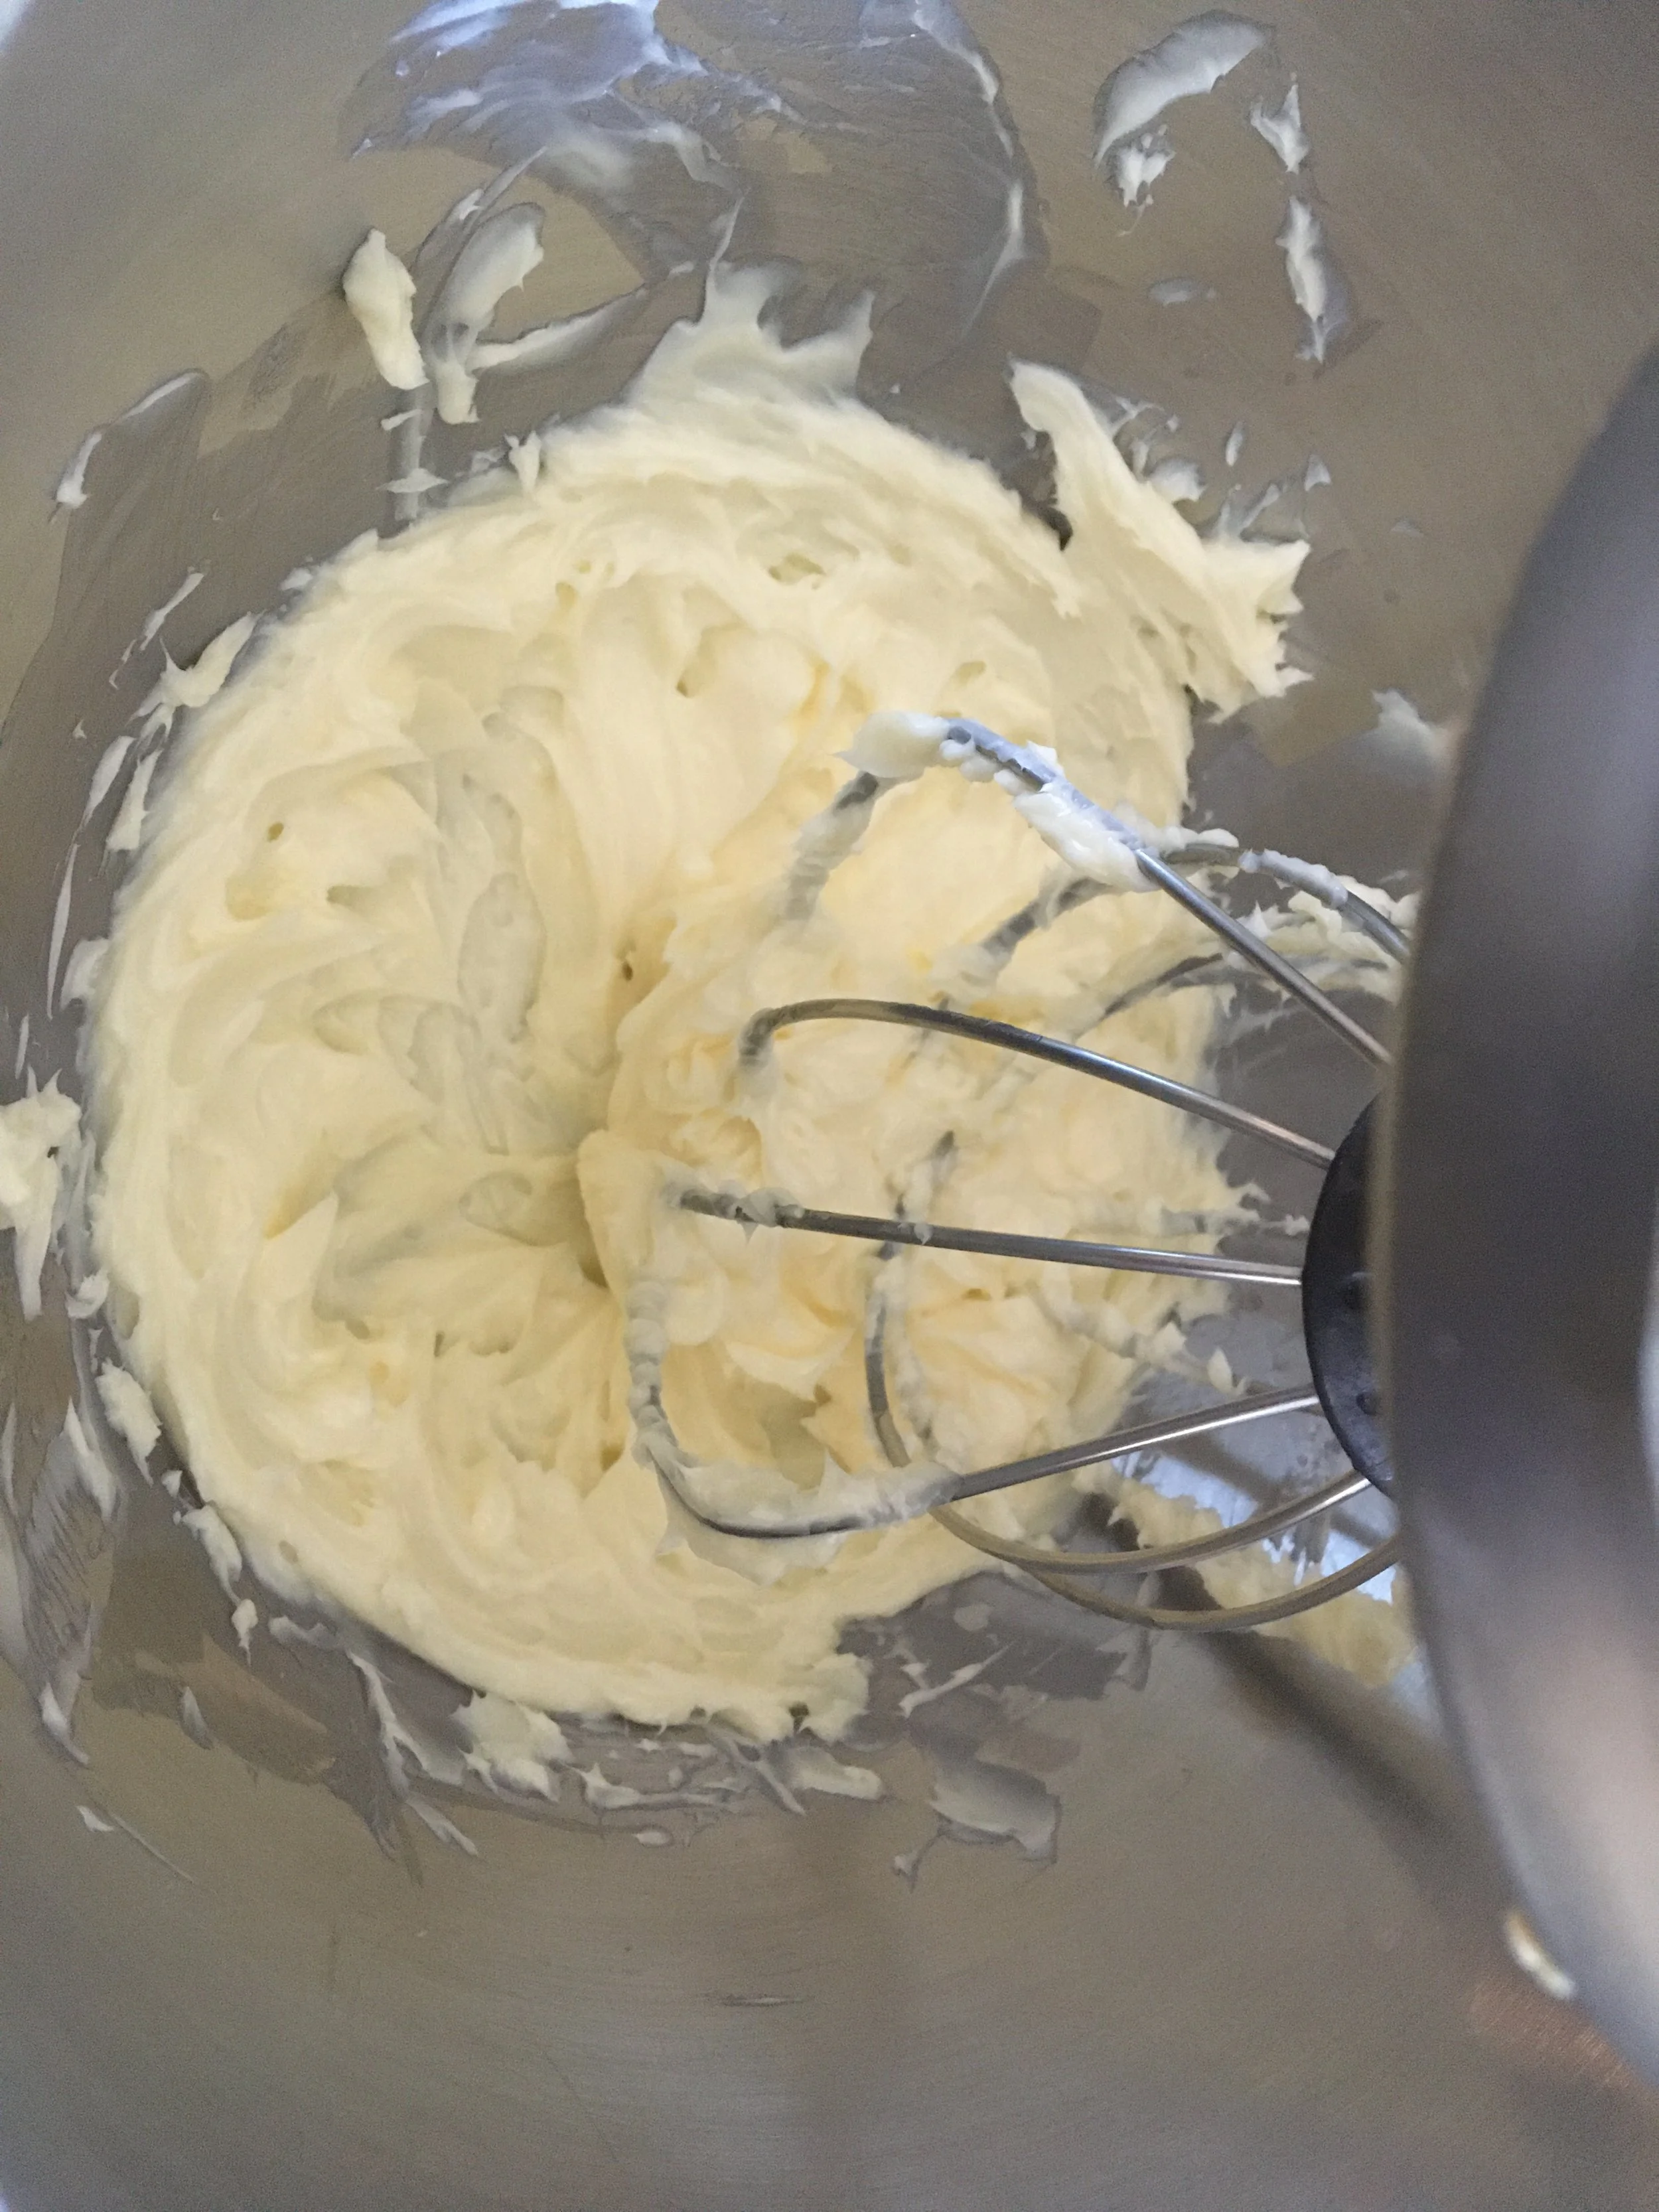
Prepare the icing.  Cream together shortening, butter, extracts, and milk.  Gradually add powdered sugar.  Mix until blended.  Set aside.

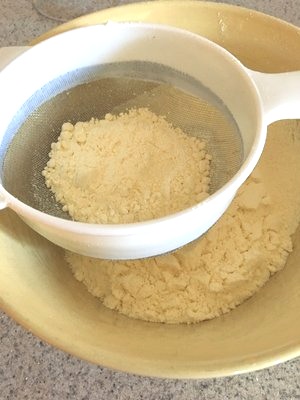
Preparation for cupcakes- In a medium bowl, add cake flour*, baking powder, baking soda and salt.  Sift the ingredients together and set aside. In another bowl, mix the eggs, sugar, vanilla and oil with an electric mixer and mix for about a minute.

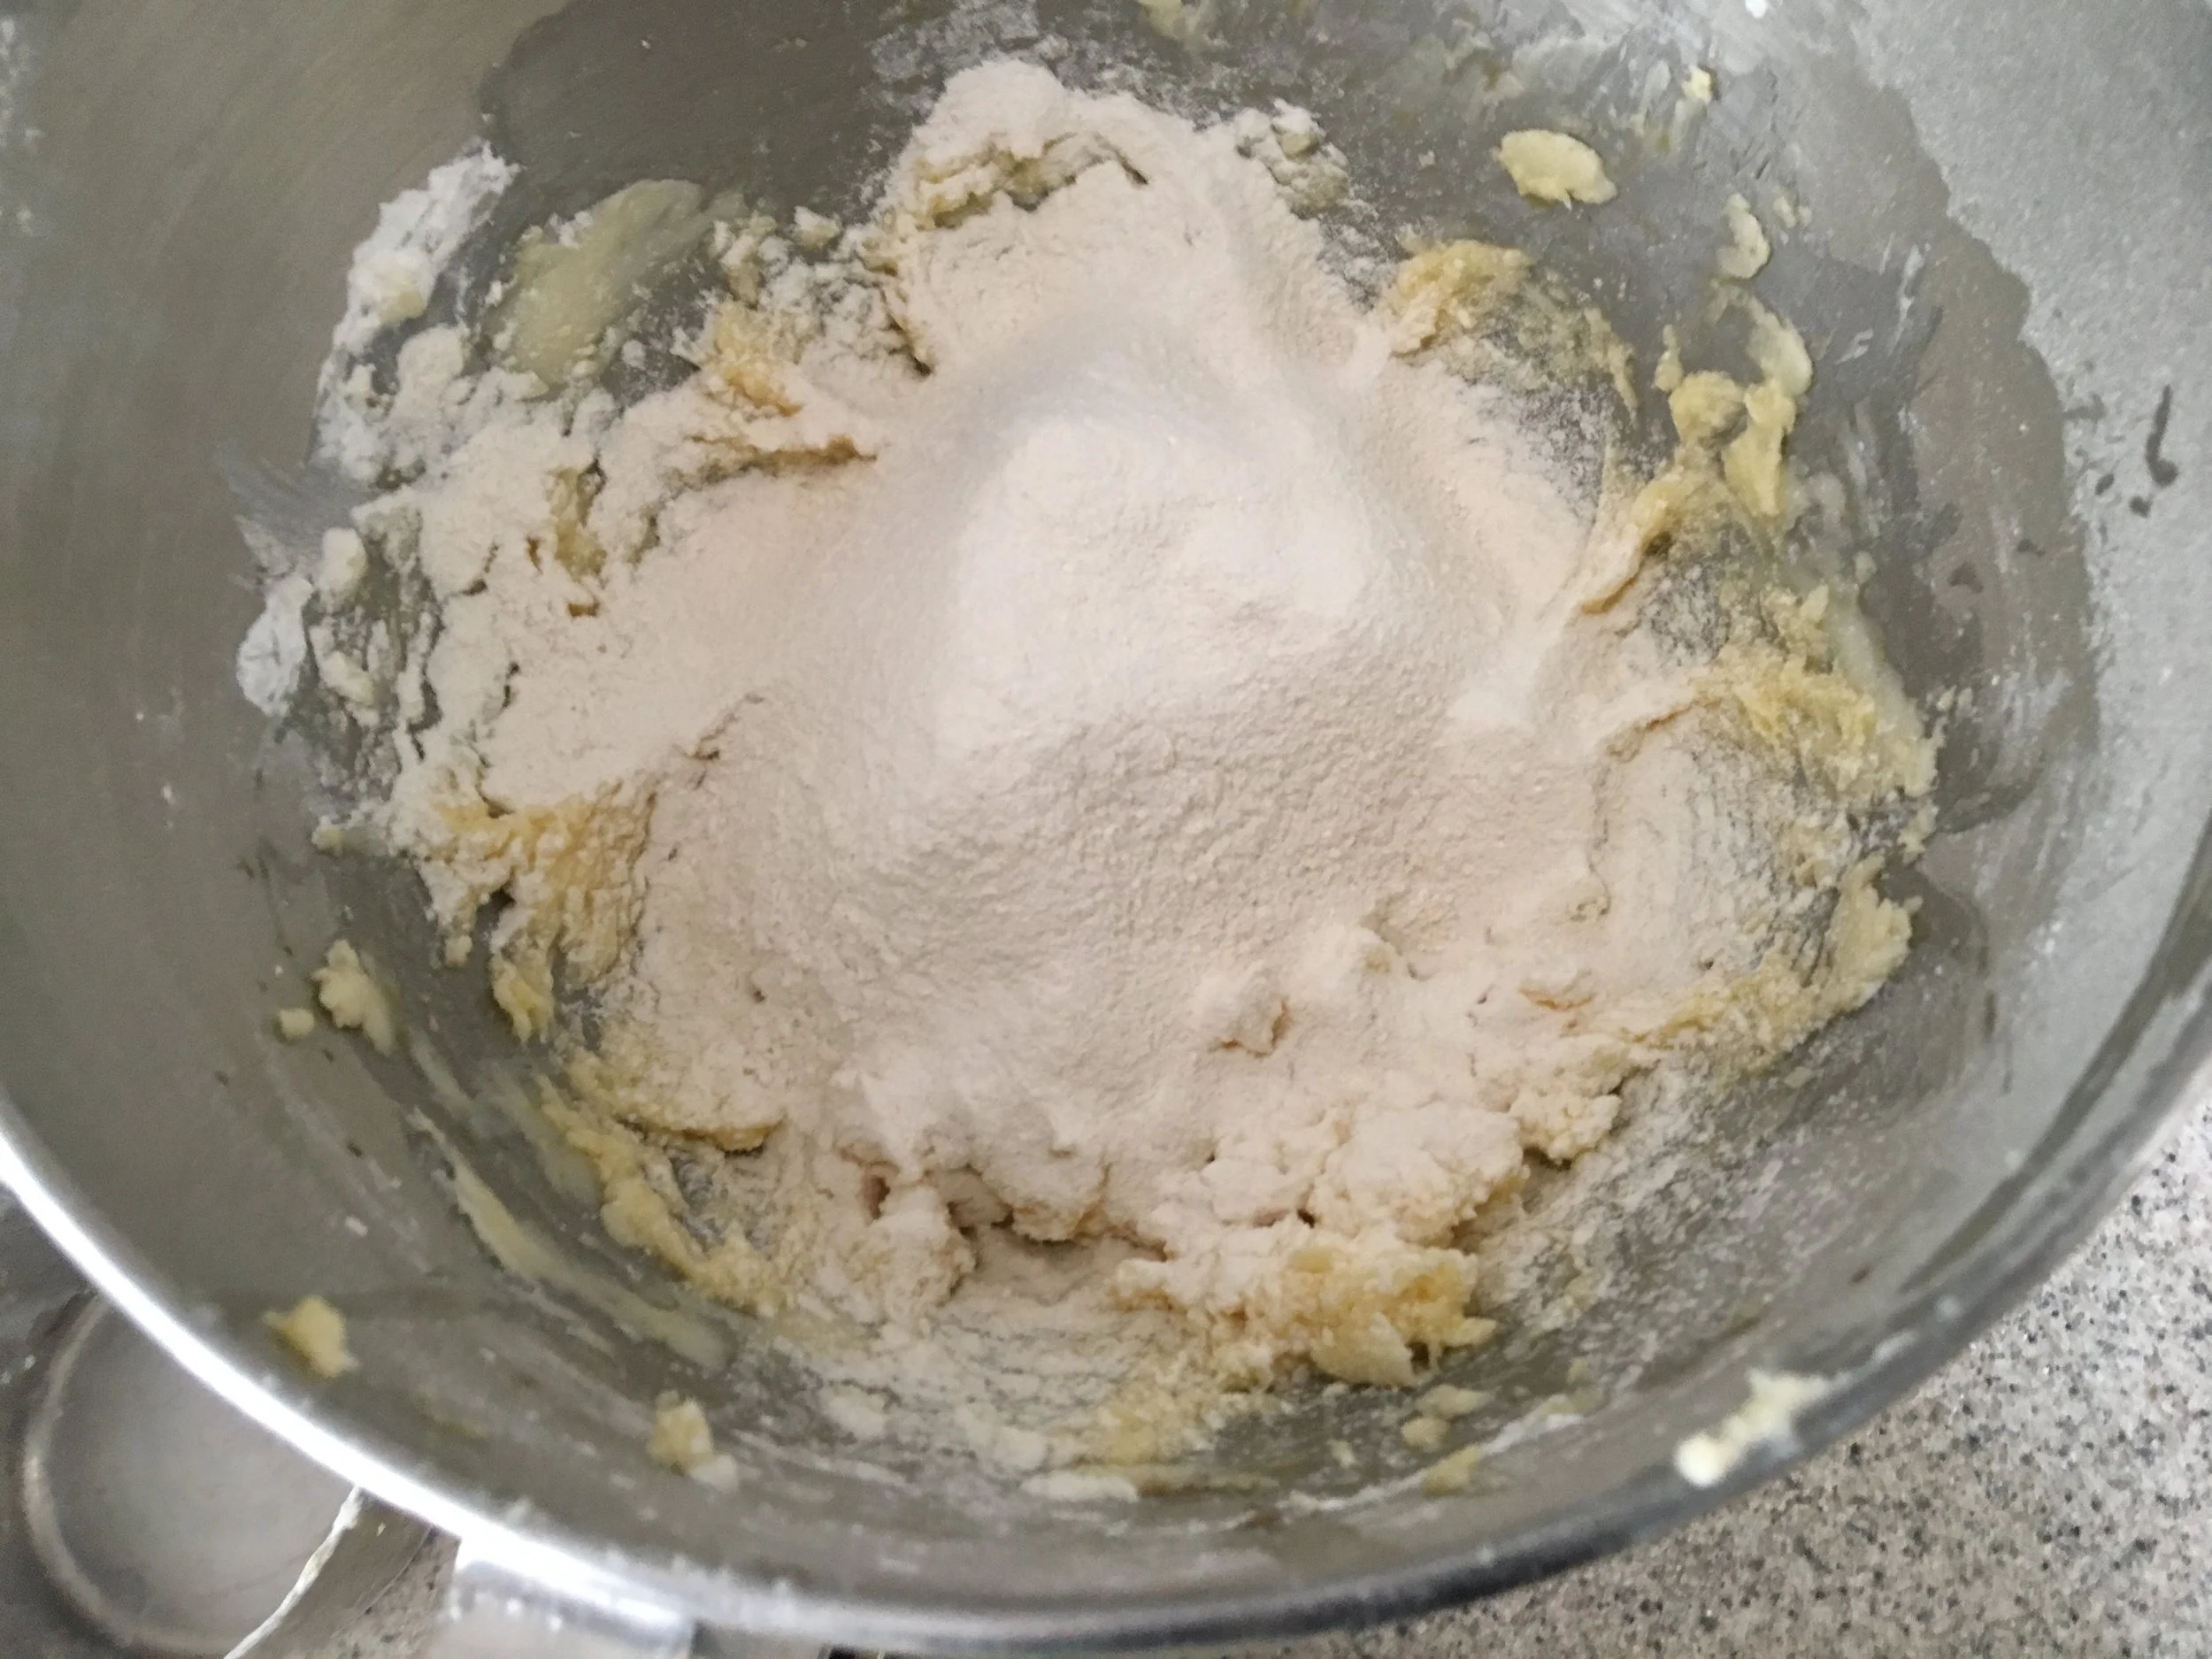
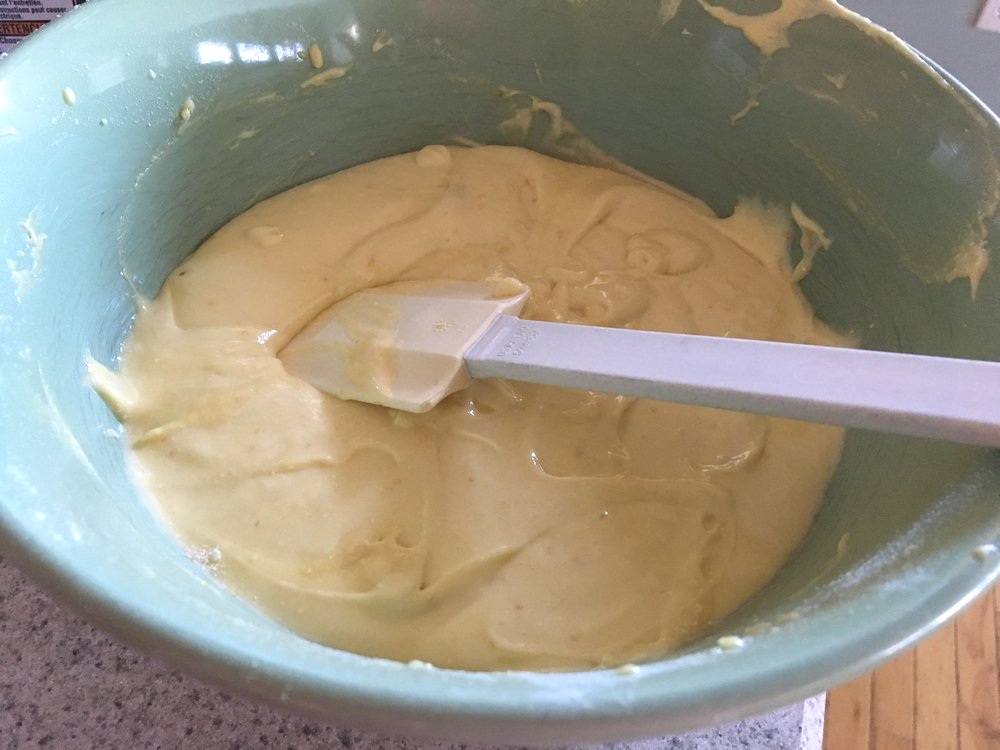
Reduce mixer speed to low and slowly add about half of the flour mixture.  Add the milk, then the rest of the flour and the sour cream.  Beat until just combined.  Scrape down the side of the bowl and make sure no lumps are left at the bottom of the bowl.  Do not over mix.

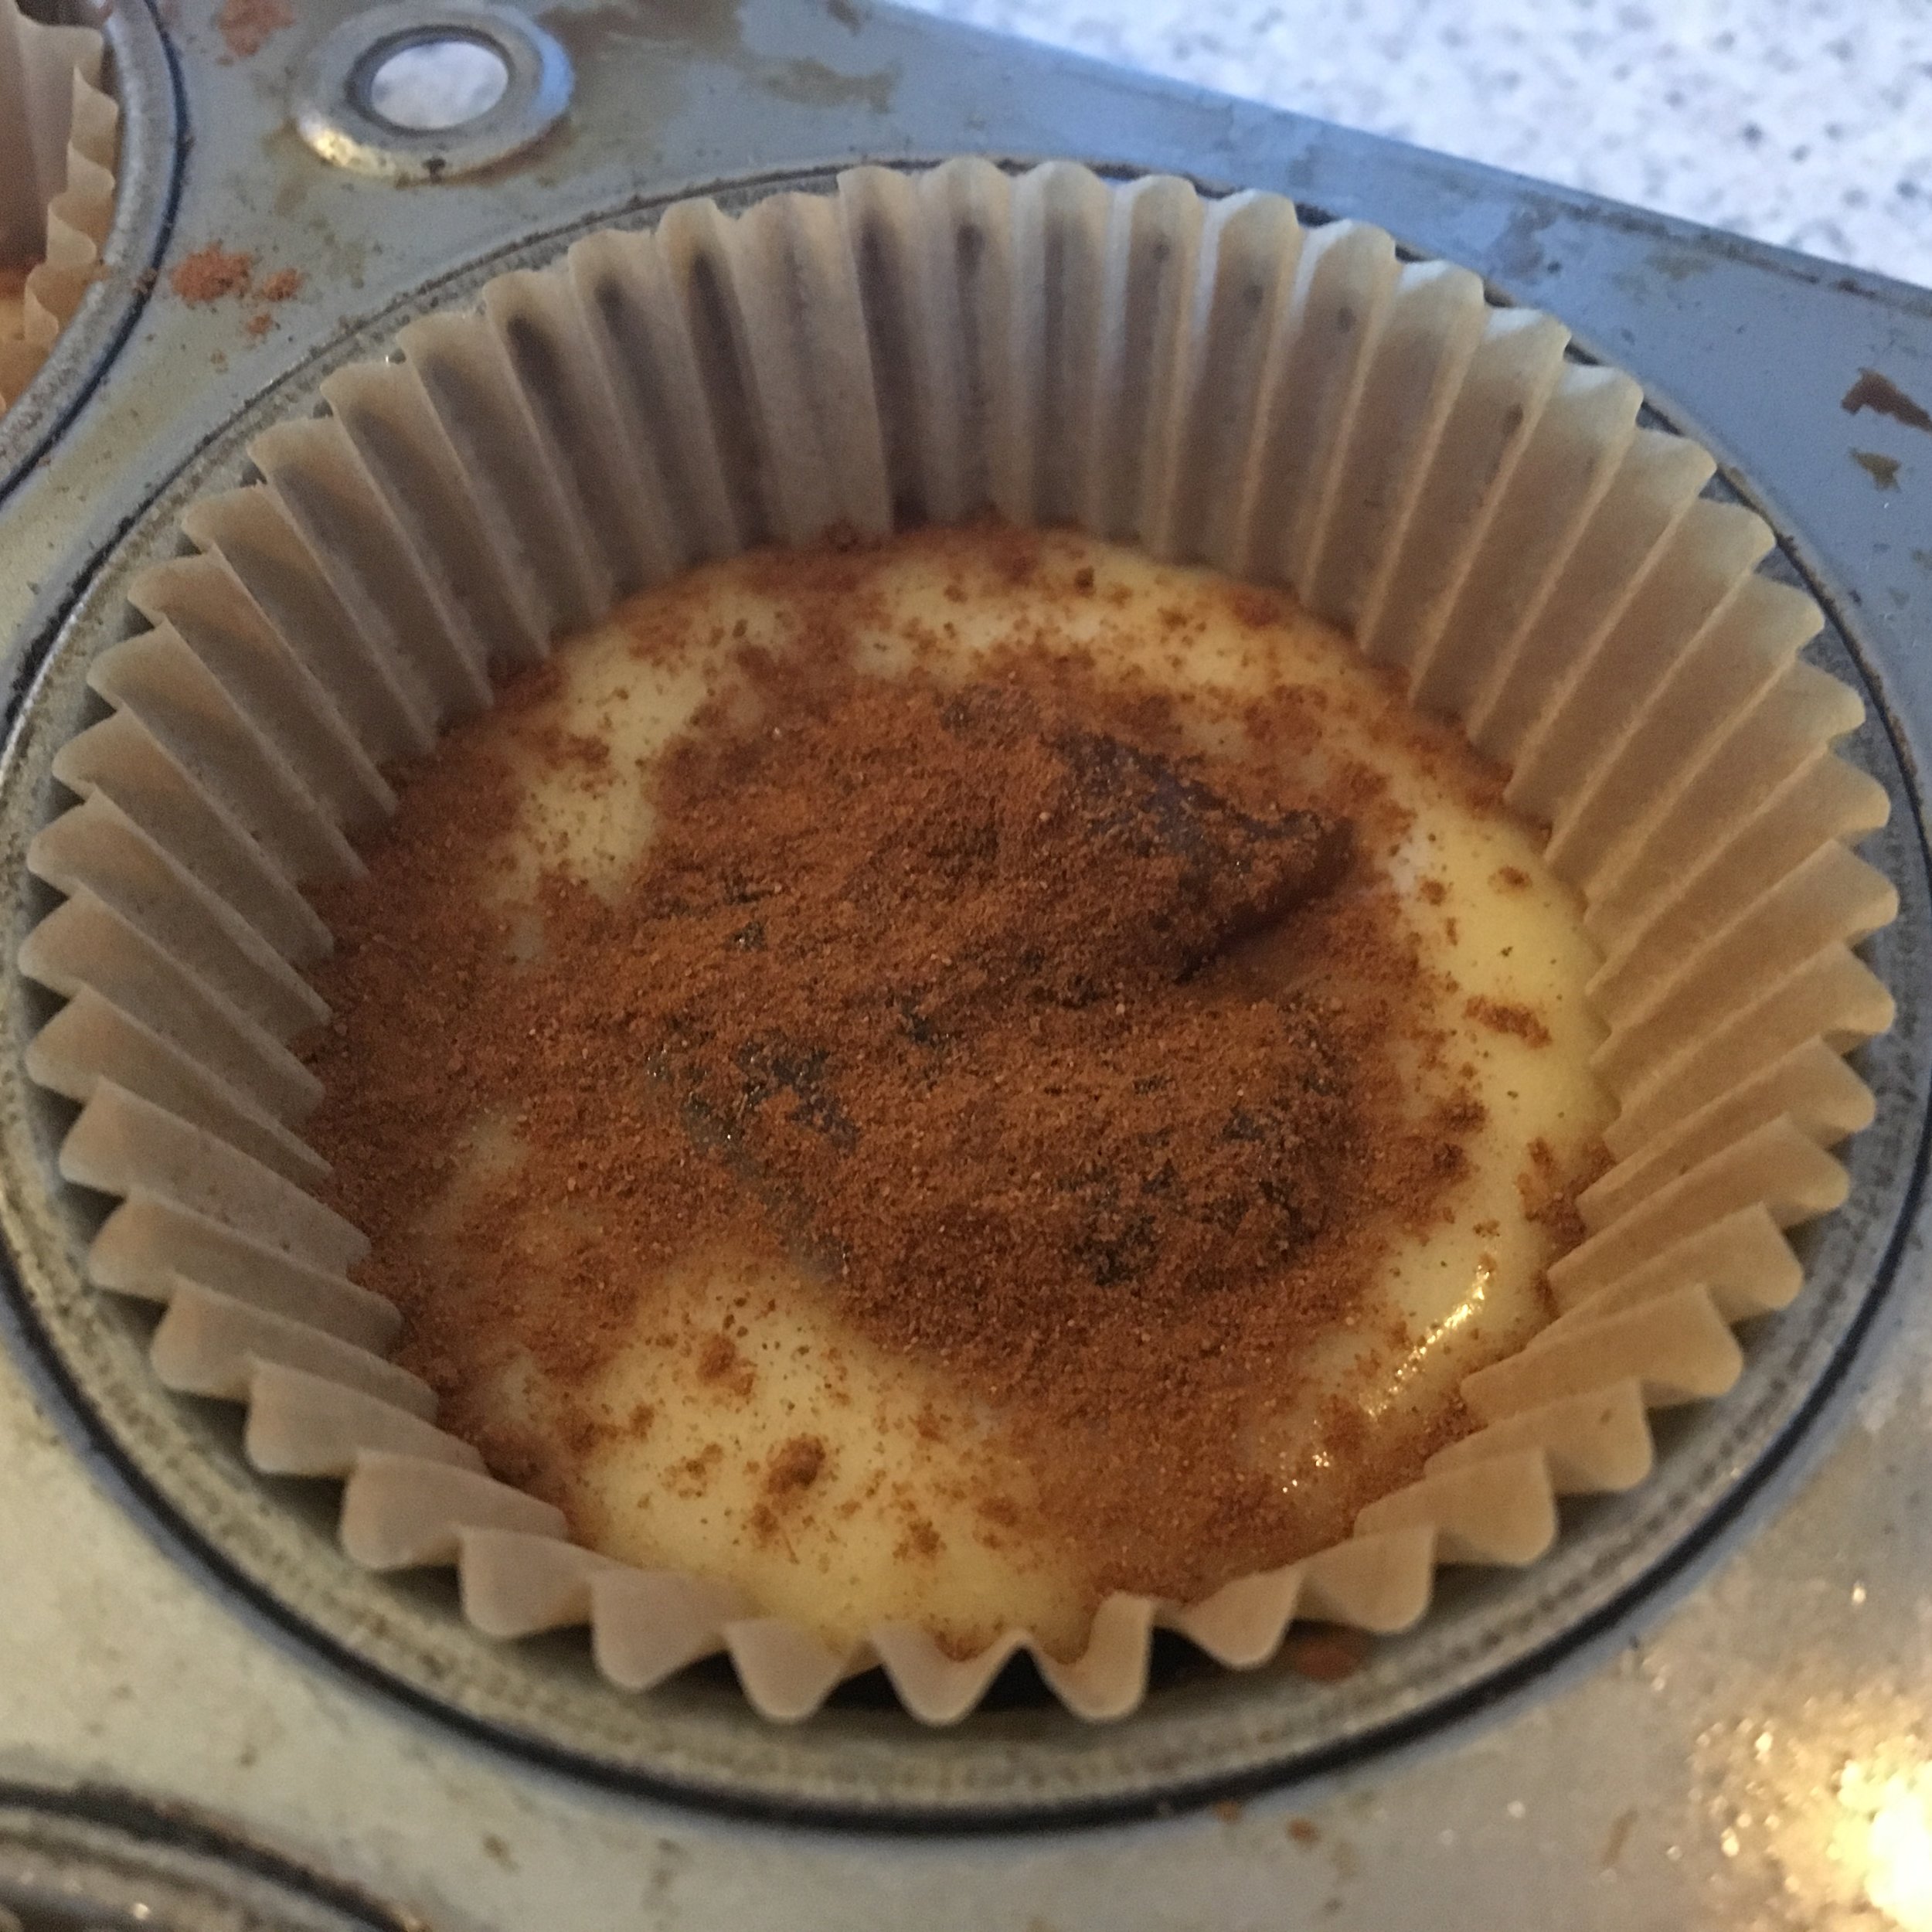
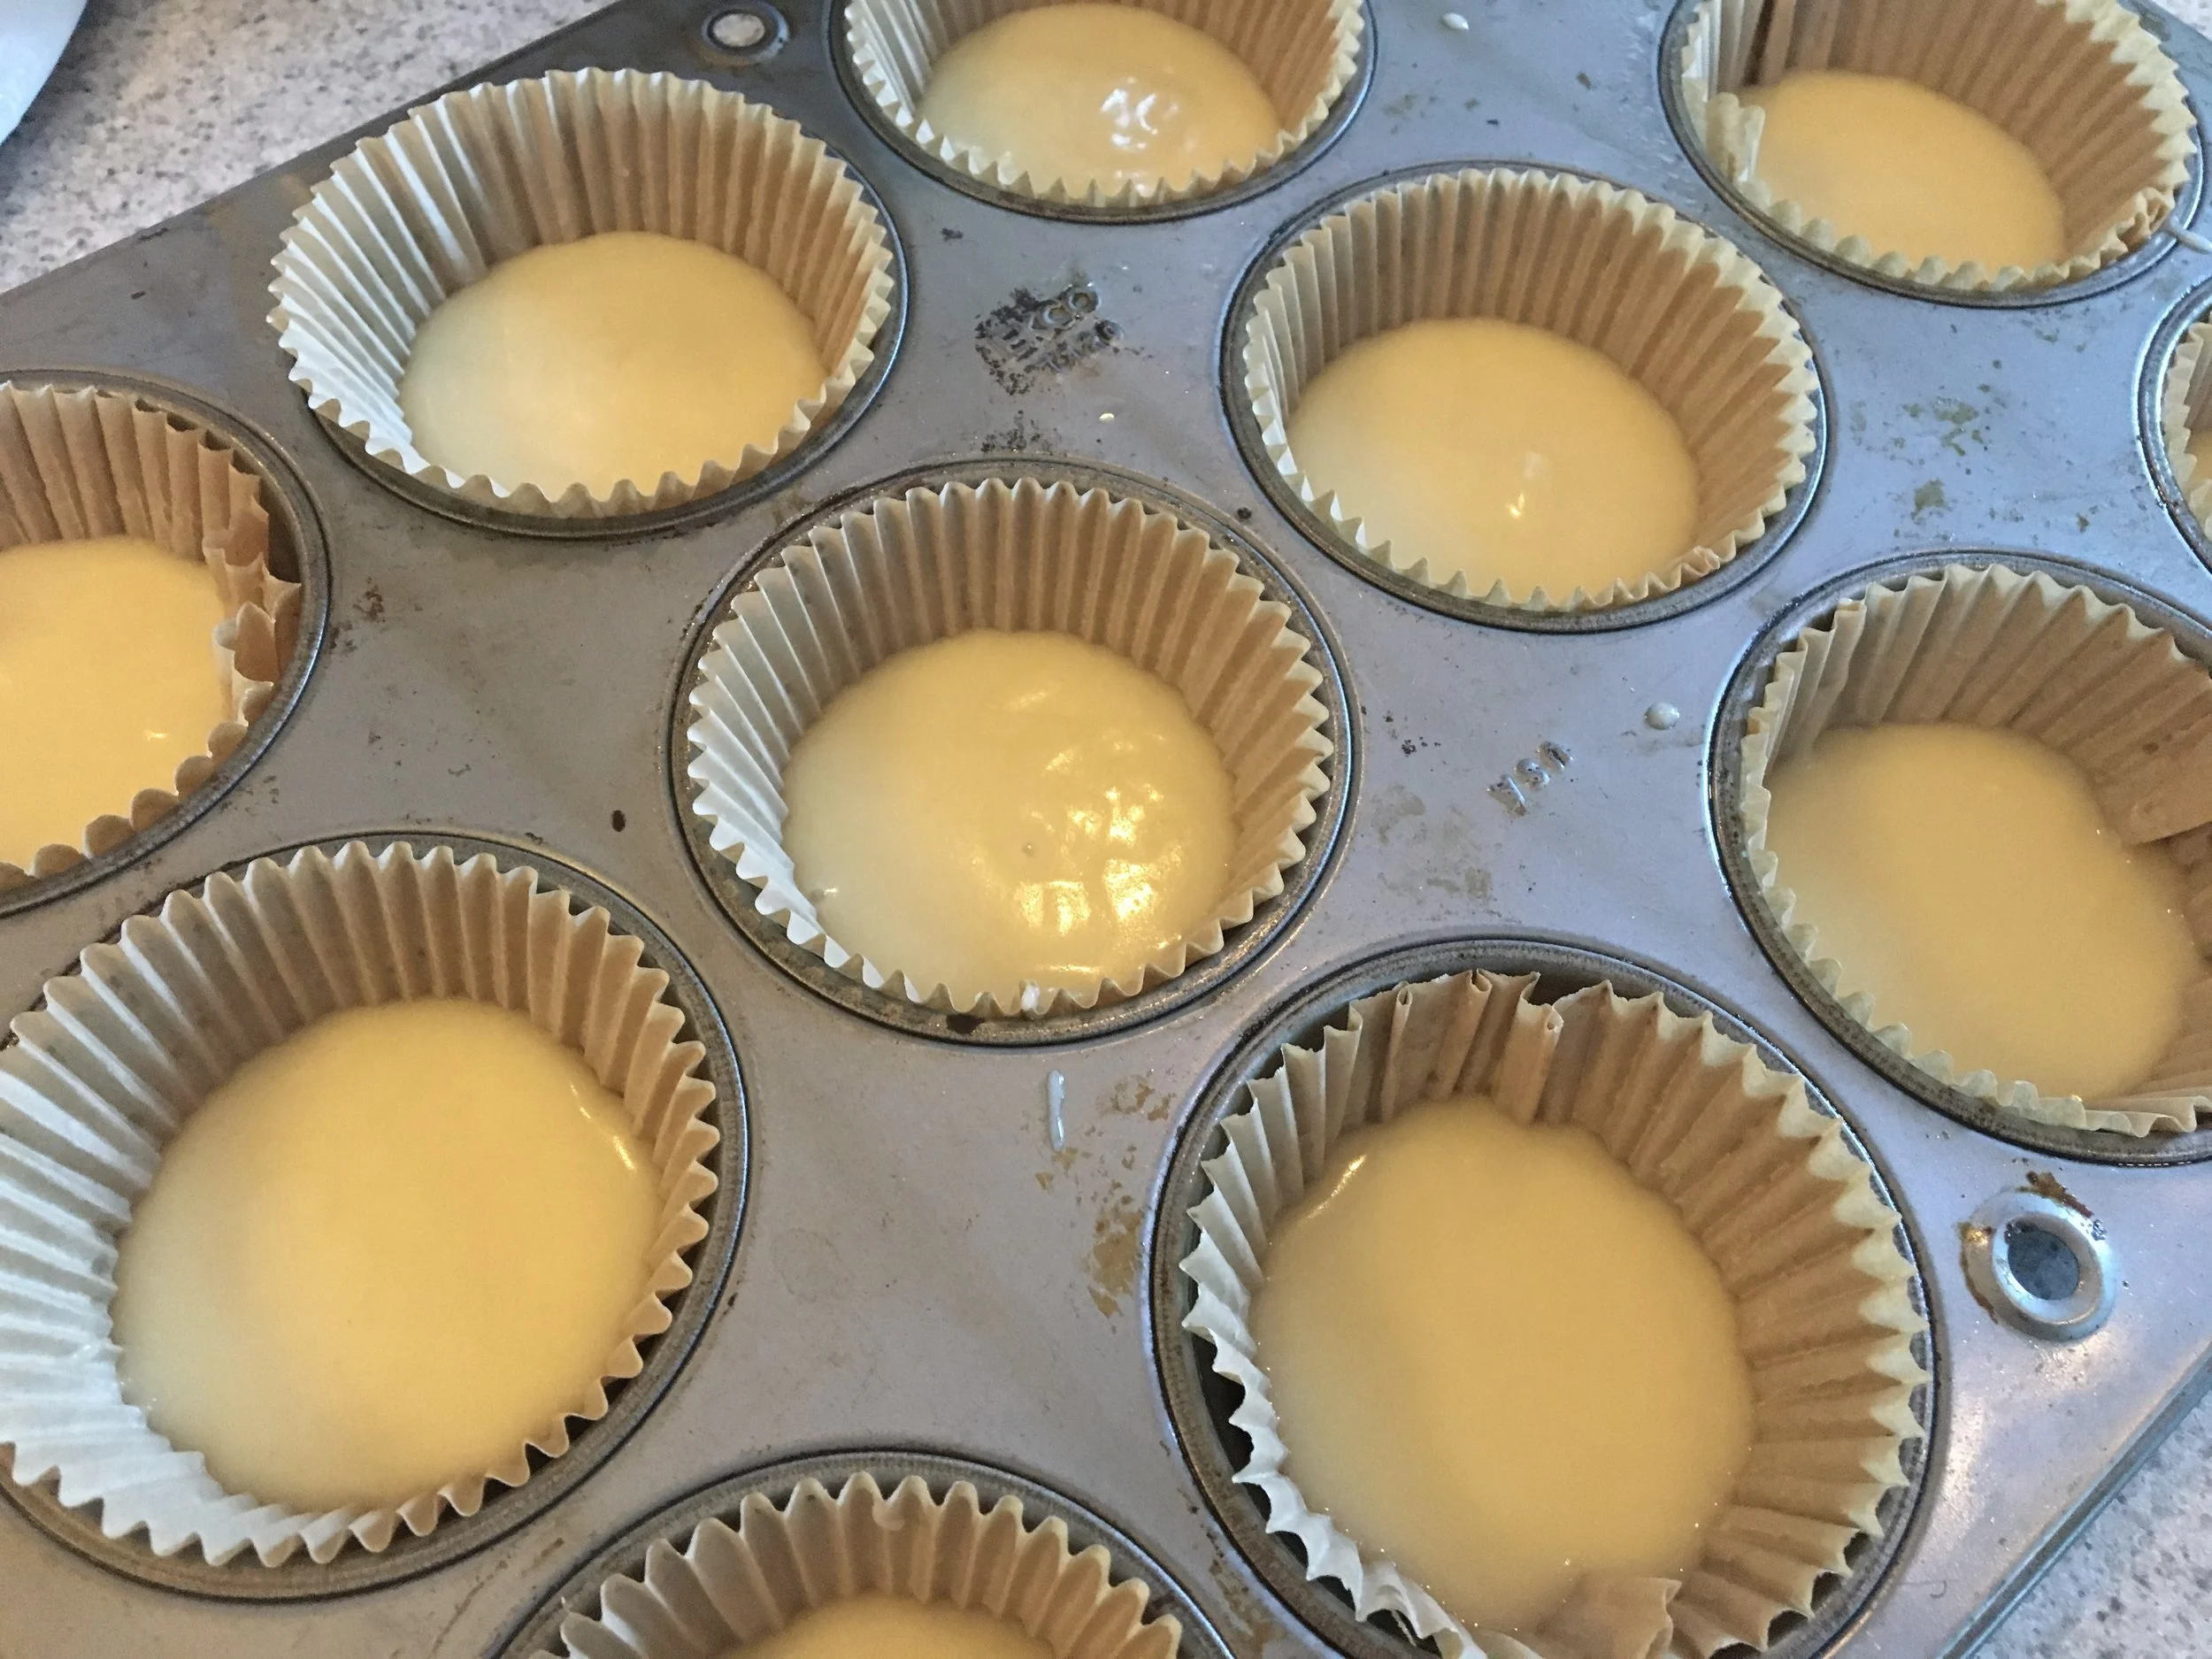
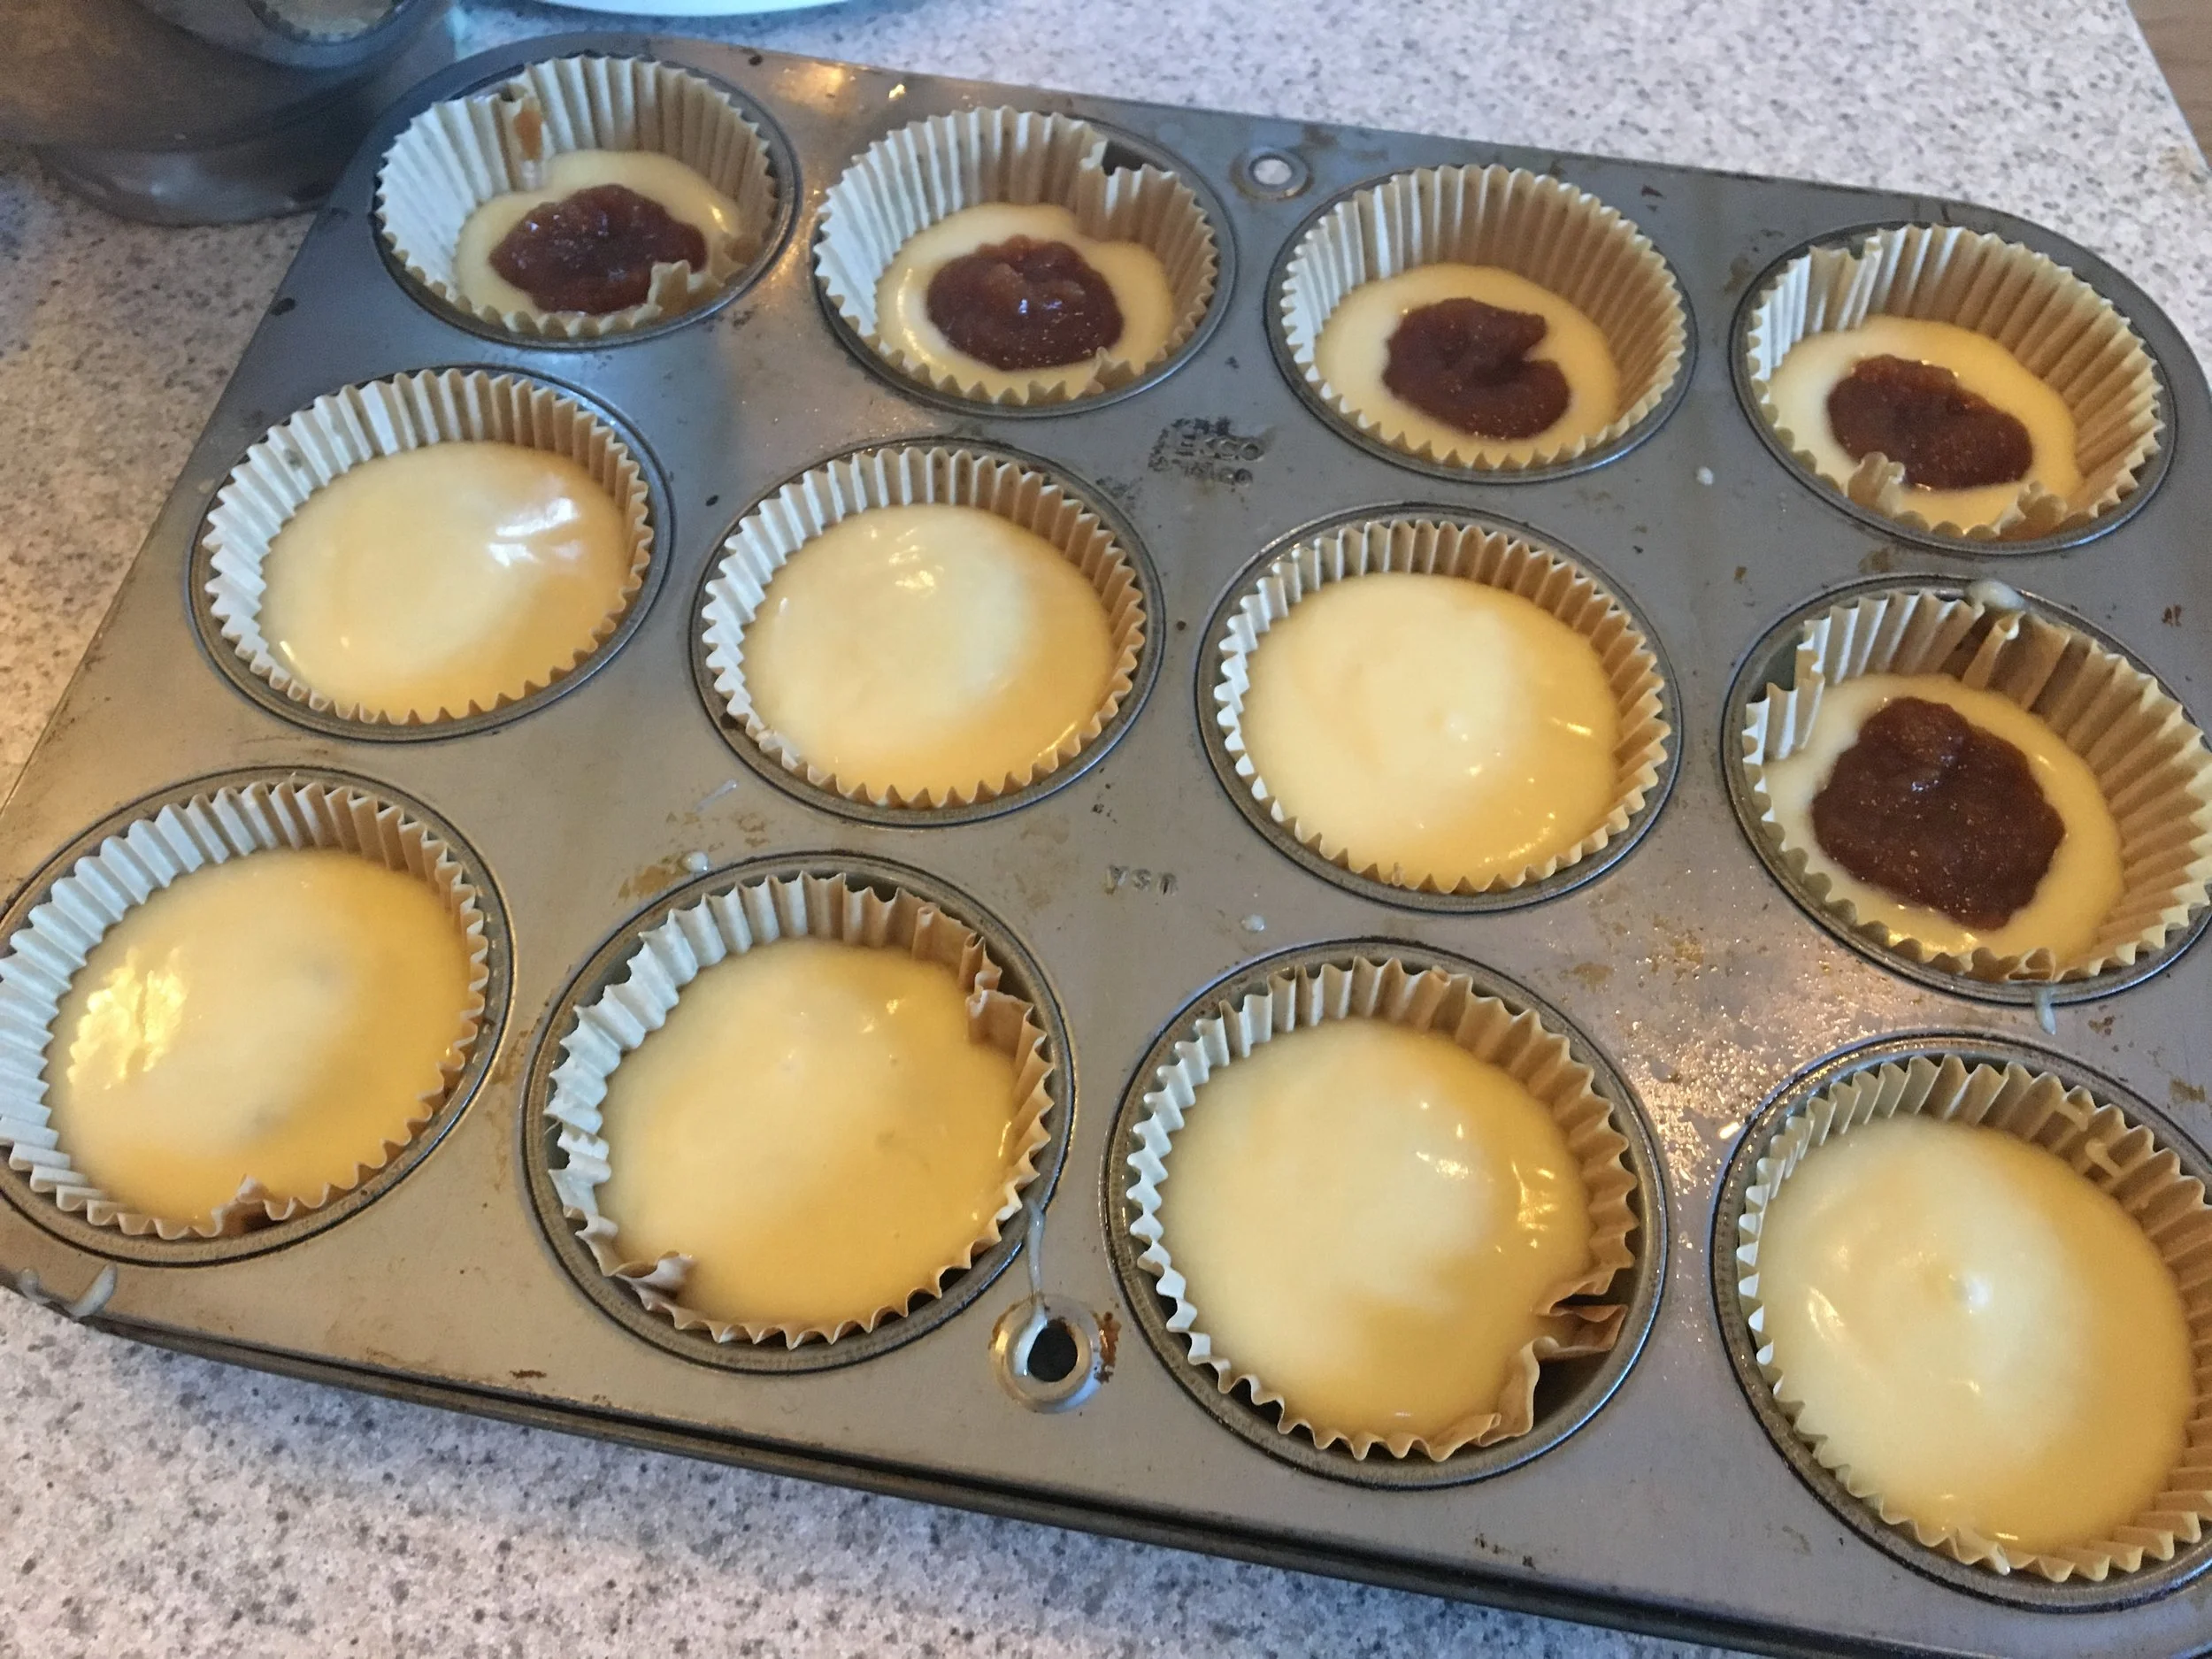
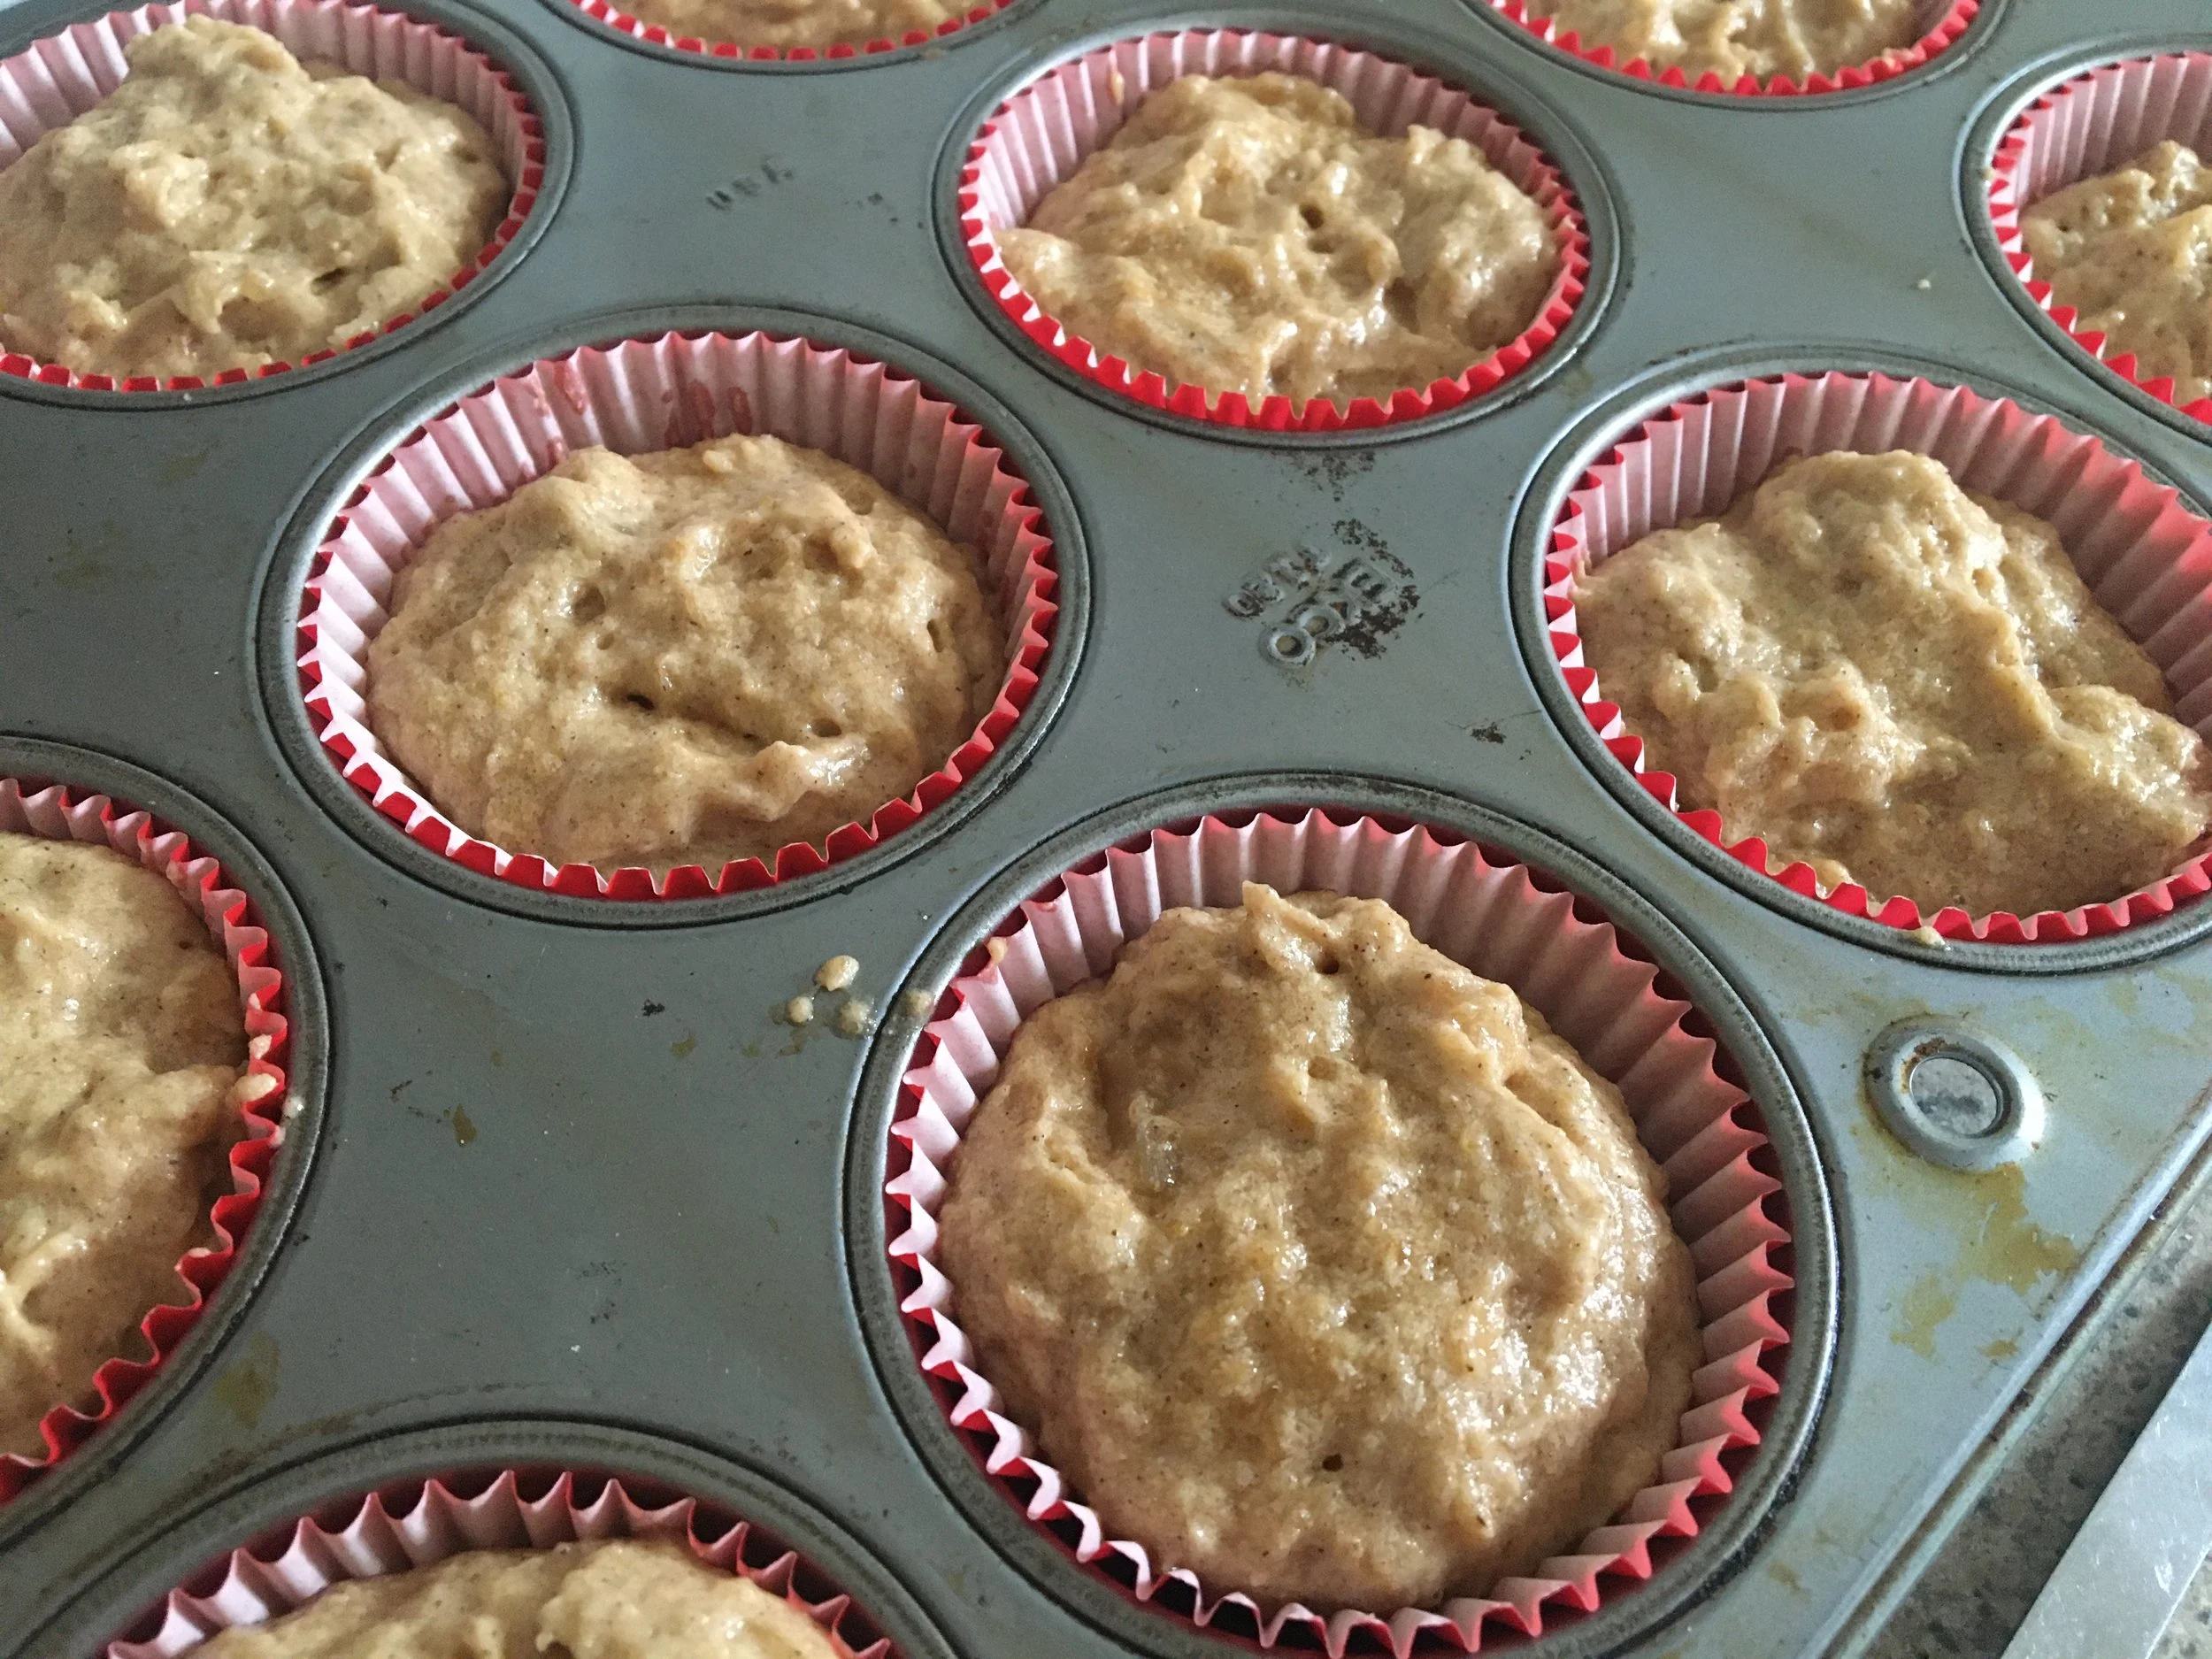
The batter will be slightly thick.  Line muffin tins with cupcake liners. So here is the fun part. The goal is to layer the batter. Fill liners about 1/3 full with cake batter. Dollop a Tablespoon of Cherchies® Apple Butter Spread on top of the batter. Sprinkle enough cinnamon to cover the batter (teaspoon). Carefully add another 1/3 of batter over top of Apple Butter and Cinnamon, not exceeding filling the muffin tin to 2/3 full.

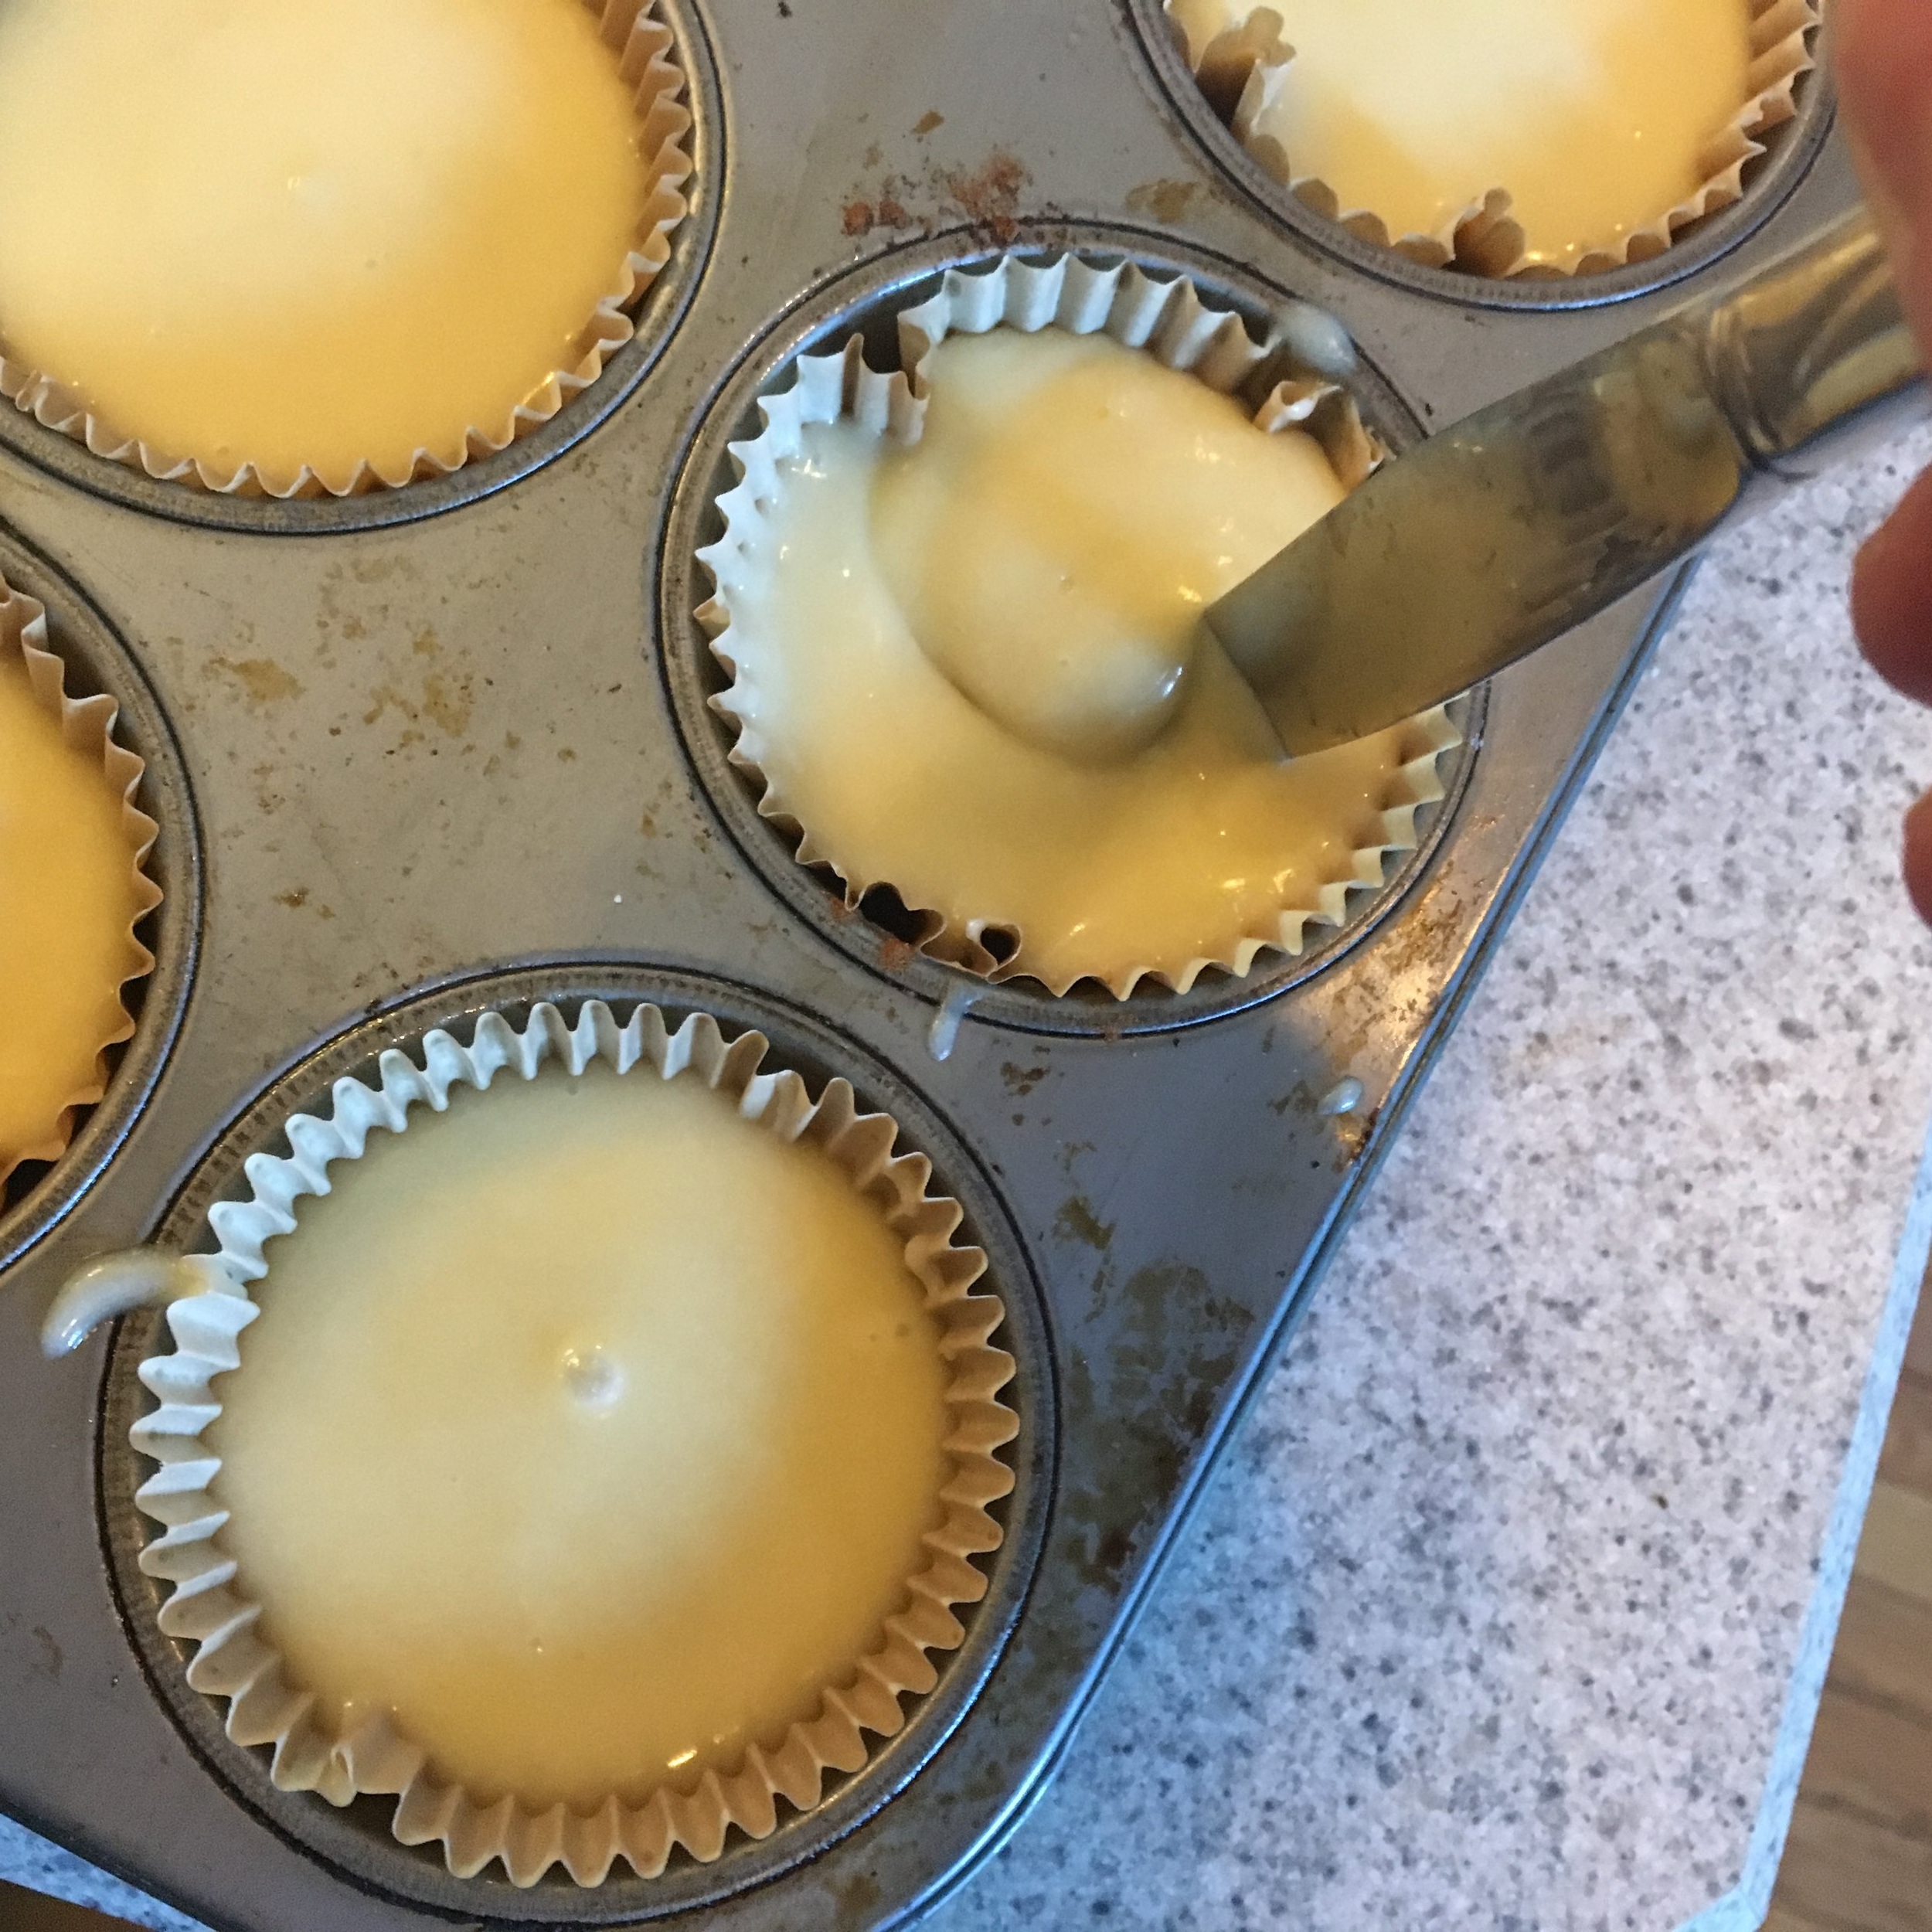
After you have carefully layered the batter, take a butter or table knife and gently run the knife through the batter to make swirls. You will only need a couple of swirls.

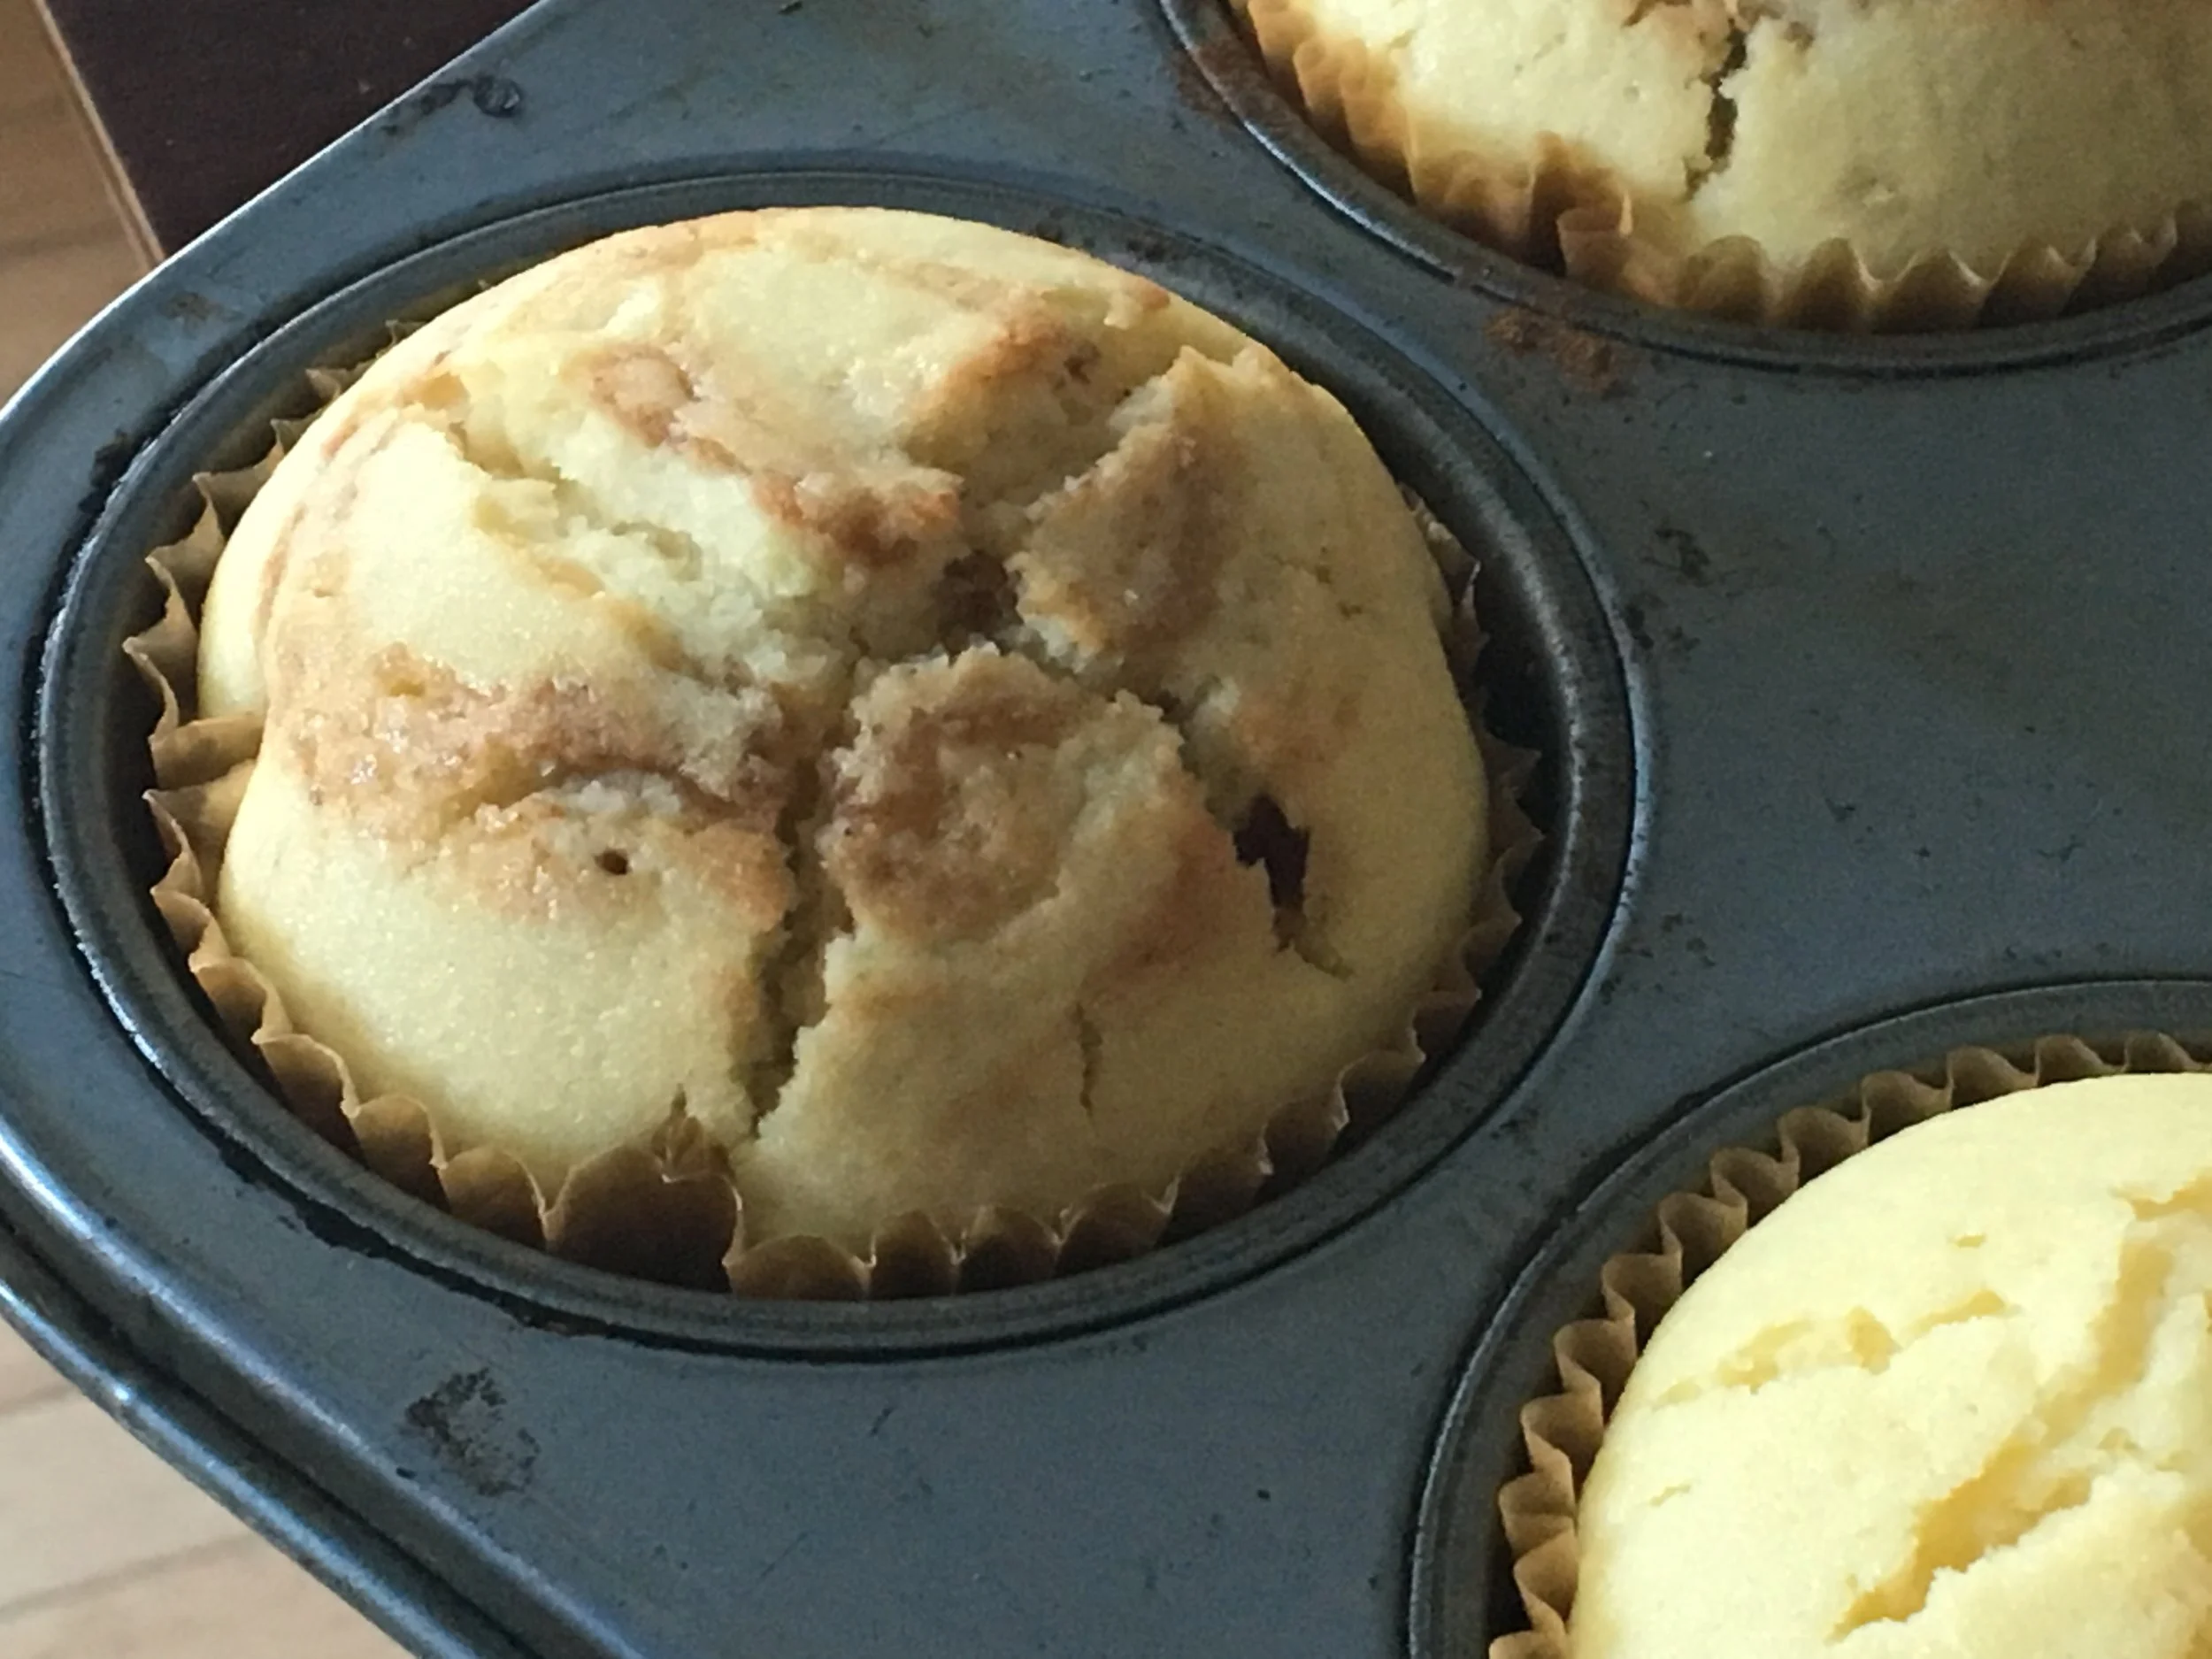
Bake at 325 degrees for 15-18 minutes, checking them at 15 minutes.  Insert a toothpick or a cake tester to check for doneness.  If toothpick or cake tester comes out clean, the cupcake is done.  If not, give it another minute or so until done.  You do not want to overcook the cupcakes.  Slightly under cooking is best, as the cupcakes will continue to cook when removed from the oven.

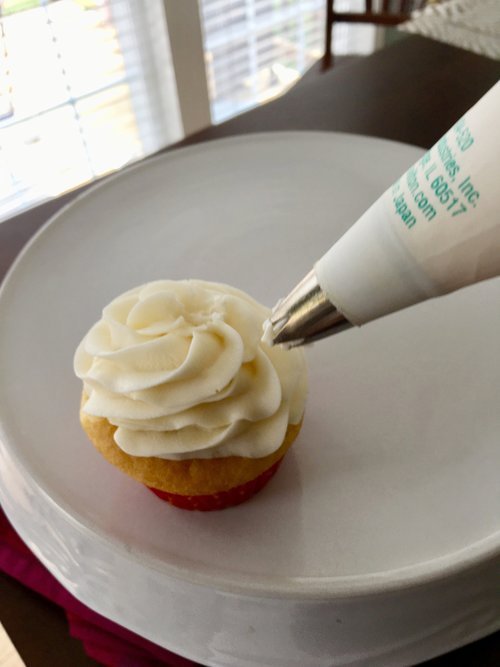
Allow cupcakes to cool completely on a wire rack for about ten minutes. Ice cupcakes with the buttercream icing, using a 195 tip, or your favorite tip.  Decorate with your favorite sprinkles and voila, moist fluffy cupcakes with a sweet apple-cinnamon filling inside, perfect for any occasion.

Note: The cupcakes and frosting can be made ahead 1 day in advance.  Make sure to cover tightly and store them in the refrigerator.  Unfrosted cupcakes can be frozen up to 2-3 months, but thaw overnight in the refrigerator when ready to use- Cooking tip from Sally's Baking addiction.

king cupcake 199.jpg


Yum

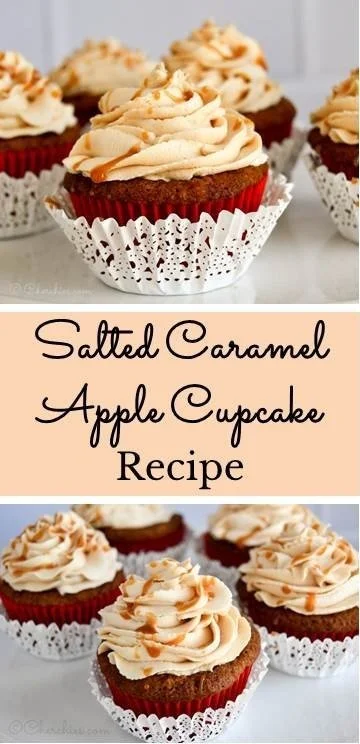
Salted Caramel Apple Cupcake Recipe

dessertsSheri SpalloneComment

Salted Caramel Apple Cupcake Recipe

Prep Time: 15 minutes

Cook Time: 1 hour 35 minutes
Difficulty: Easy

Servings: 14 cupcakes

Happy Fall!  

Here in Pennsylvania, the leaves are beginning to turn brilliant shades of crimson, orange, and gold, the air is getting crisper, and cozy spices like allspice, cinnamon, and cloves are starting to waft through kitchens across the country. What better way to celebrate the season than with a Fall-inspired recipe? It is the perfect nod to the season to introduce our newest recipe, Salted Caramel Apple Cupcakes, featuring Cherchies® Apple Butter Spread

If you are a cupcake fan or a salted caramel fan, you will love these moist, flavorful, rich cupcakes. However, do not let the “salty” scare you away because these cupcakes are emersed in a depth of sweet flavor from the spices and the apple butter. The salted caramel frosting is decadently creamy and buttery and perfectly accompanies this tasty cupcake.

So, in honor of Fall, indulge your palate and treat yourself to the season's flavors with a salty-sweet sensation featuring Cherchies® Apple Butter Spread! You will not be disappointed, and your kitchen will smell amazing!

Happy baking!

Thanks for stopping by:) Comment below if you have made this delicious recipe. Come back again for more family-tested recipes, entertaining ideas, and cooking tips using all our favorite Cherchies® gourmet products.

Follow us on social media: Facebook, Instagram, and Pinterest.


Cupcake ingredients (adapted from thefirstyearblog.com)

  • 2 cups all-purpose flour (we have made this recipe gluten-free by switching out King Arthur’s Measure for Measure Gluten-Free flour, using the same measurements).

  • 1 ½ teaspoon (tsp) baking powder

  • 1 teaspoon (tsp) baking soda

  • ½ teaspoon (tsp) salt

  • ½ teaspoon (tsp) cloves

  • ½ teaspoon (tsp) allspice

  • 1 stick butter (1/2 cup), room temperature

  • 1 cup brown sugar

  • 2 large eggs, room temperature

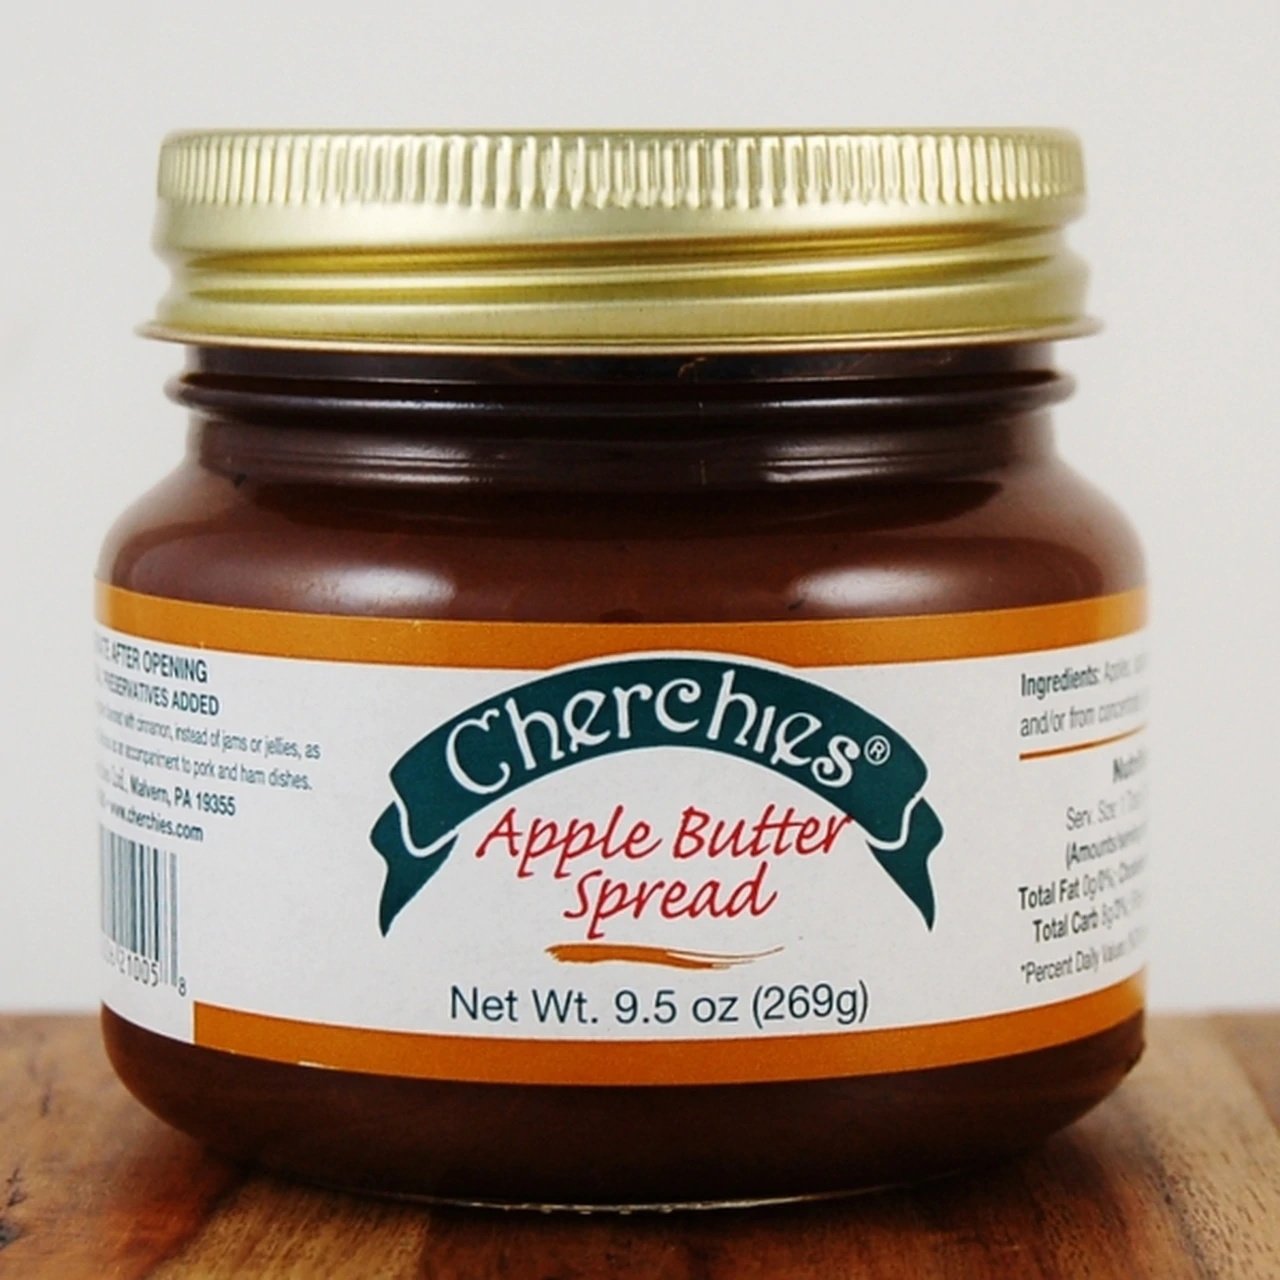
1 jar (9.5 oz.) Cherchies® Apple Butter Spread


Salted Caramel Icing Ingredients (adapted from thefirstyearblog.com)

  • 2 sticks butter (1 cup), room temperature

  • ⅓ cup Homemade Caramel sauce (or your favorite jarred caramel sauce)

  • ¼ teaspoon (tsp) salt

  • 2 cups powdered sugar

  • A little milk, cream, or half and half if needed to thin out the icing

  • Caramel sauce to drizzle on top (optional)

  • coarse sea salt to sprinkle on top (optional)


Cupcake Preparations (adapted from thefirstyearblog.com)

Preheat the oven to 350ºF.

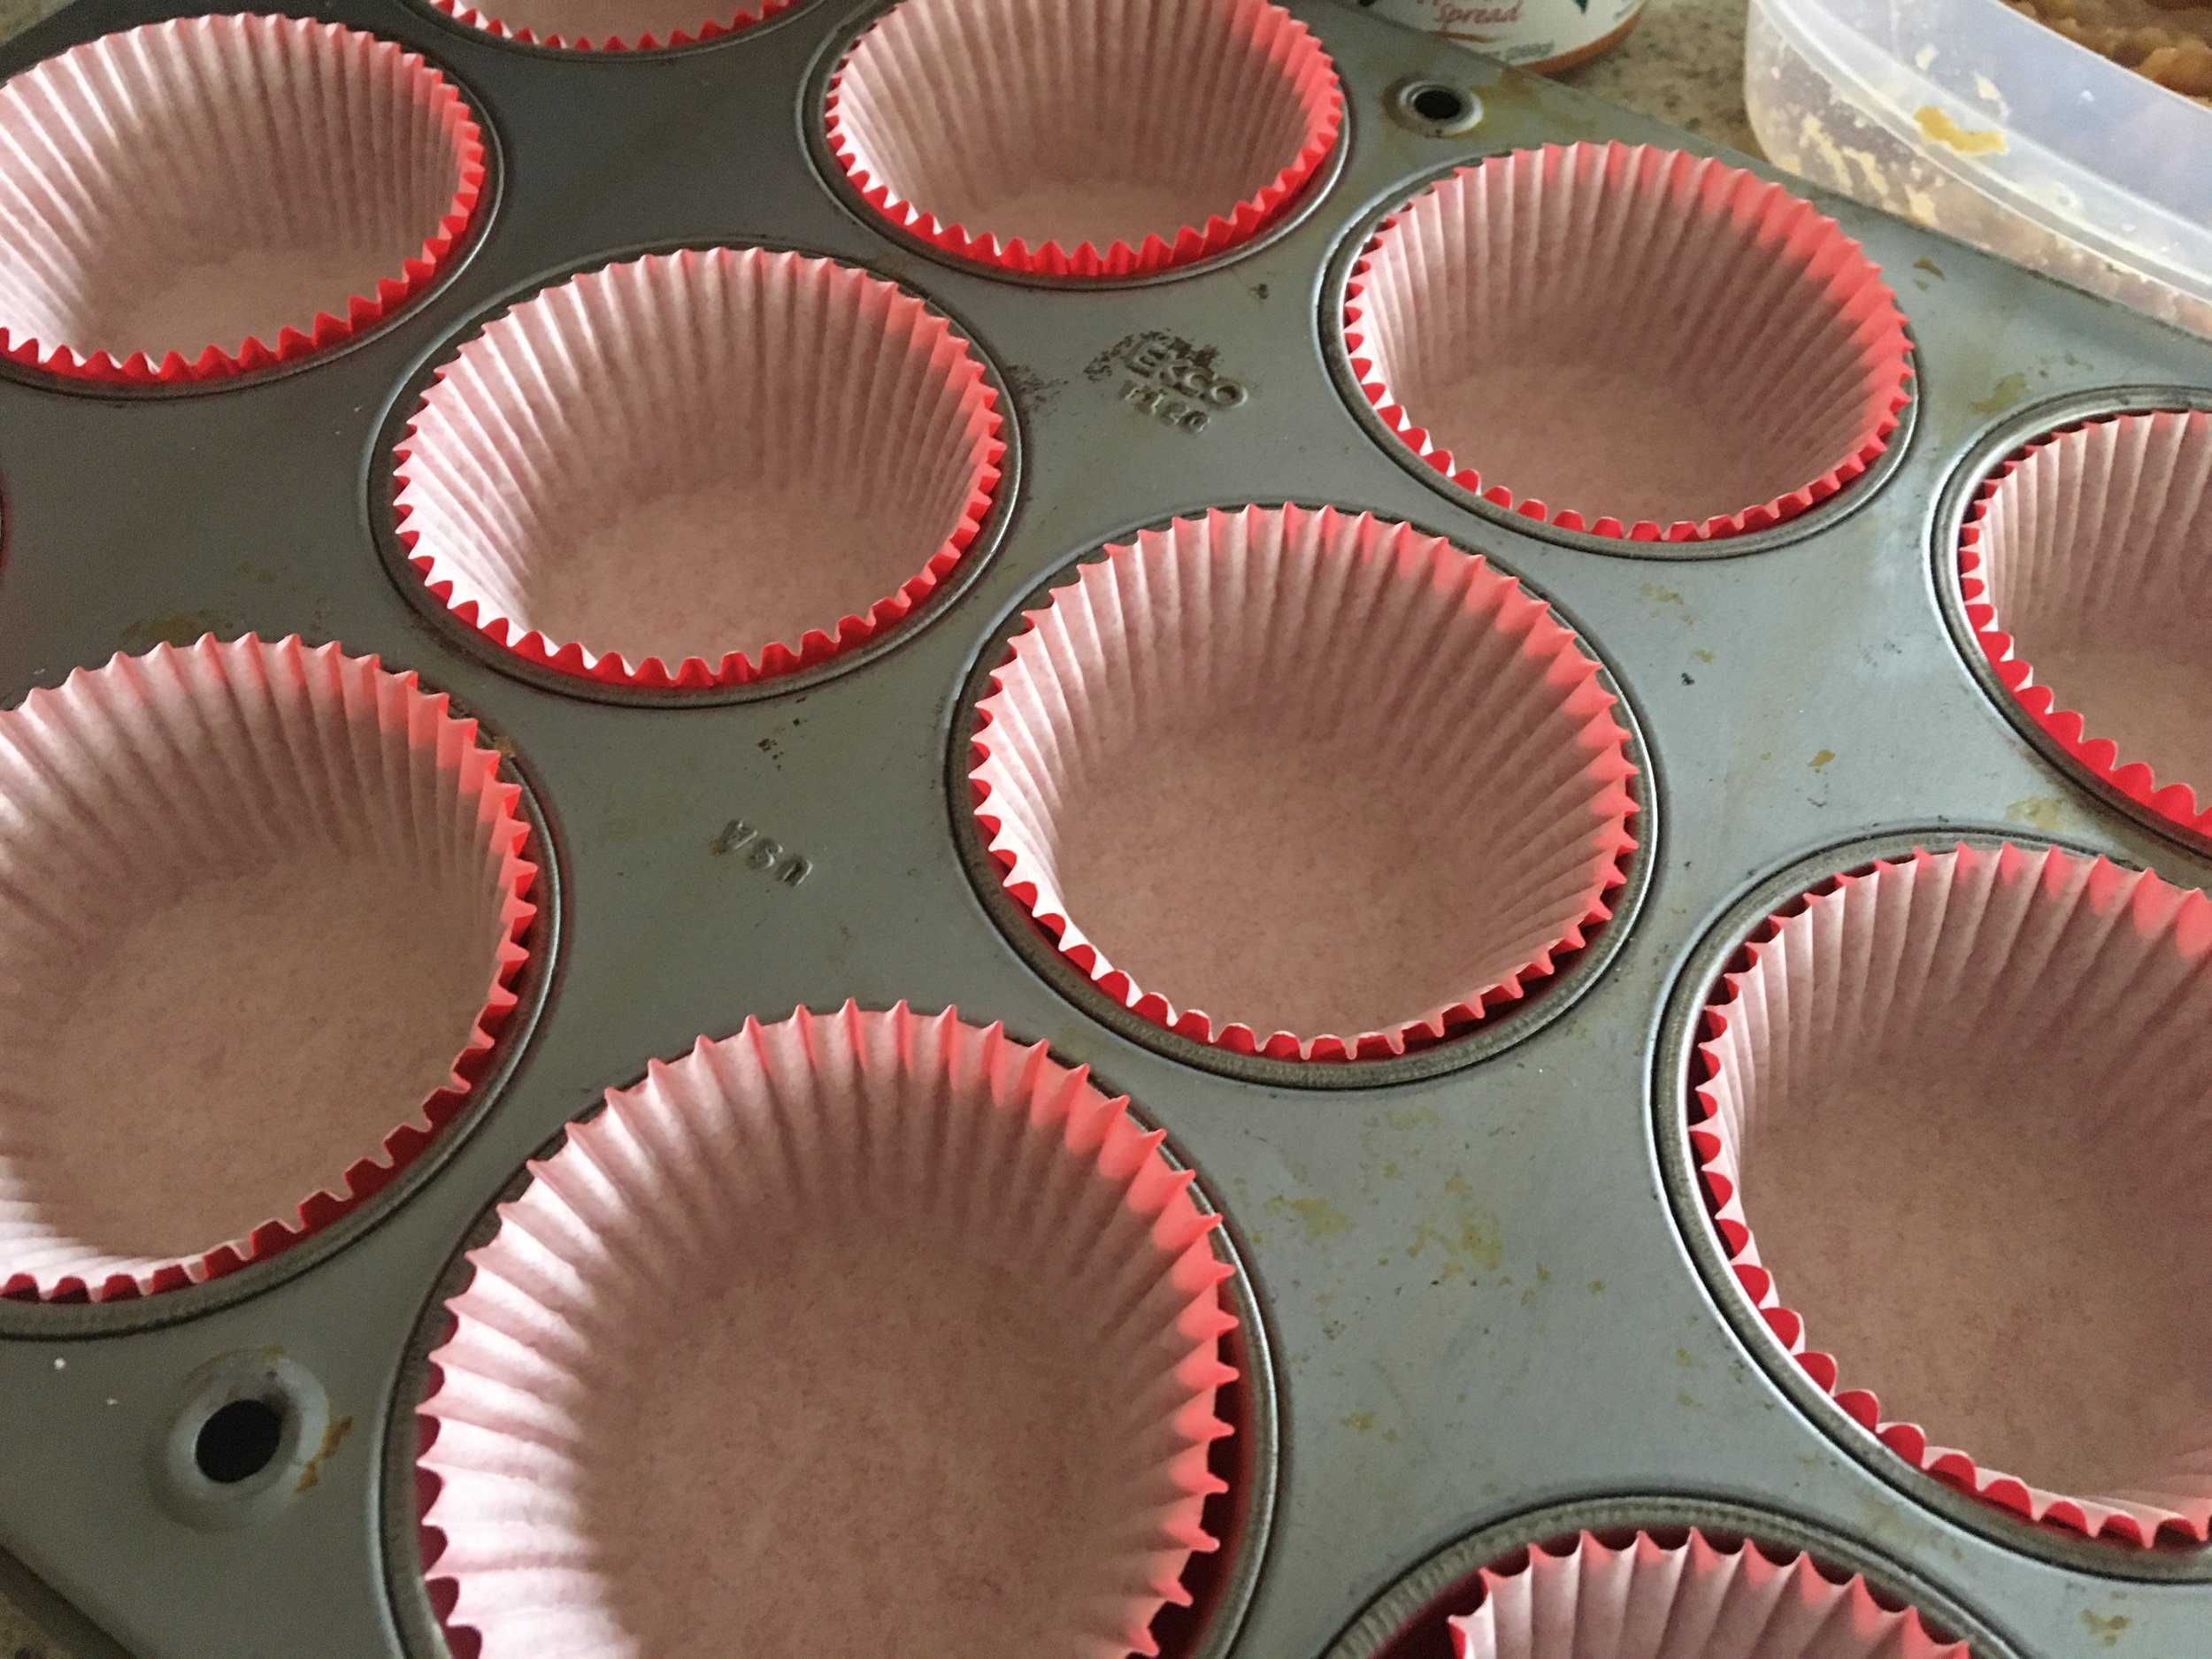
Line a 12-cup muffin pan with cupcake liners and set the pan aside. Line 1 more cupcake pan with two liners (this recipe makes about 14 cupcakes).

While the oven is preheating, make the homemade caramel sauce. (If using jarred caramel sauce, then skip this step. Homemade caramel sauce is so easy and comes together in minutes). Directions below.

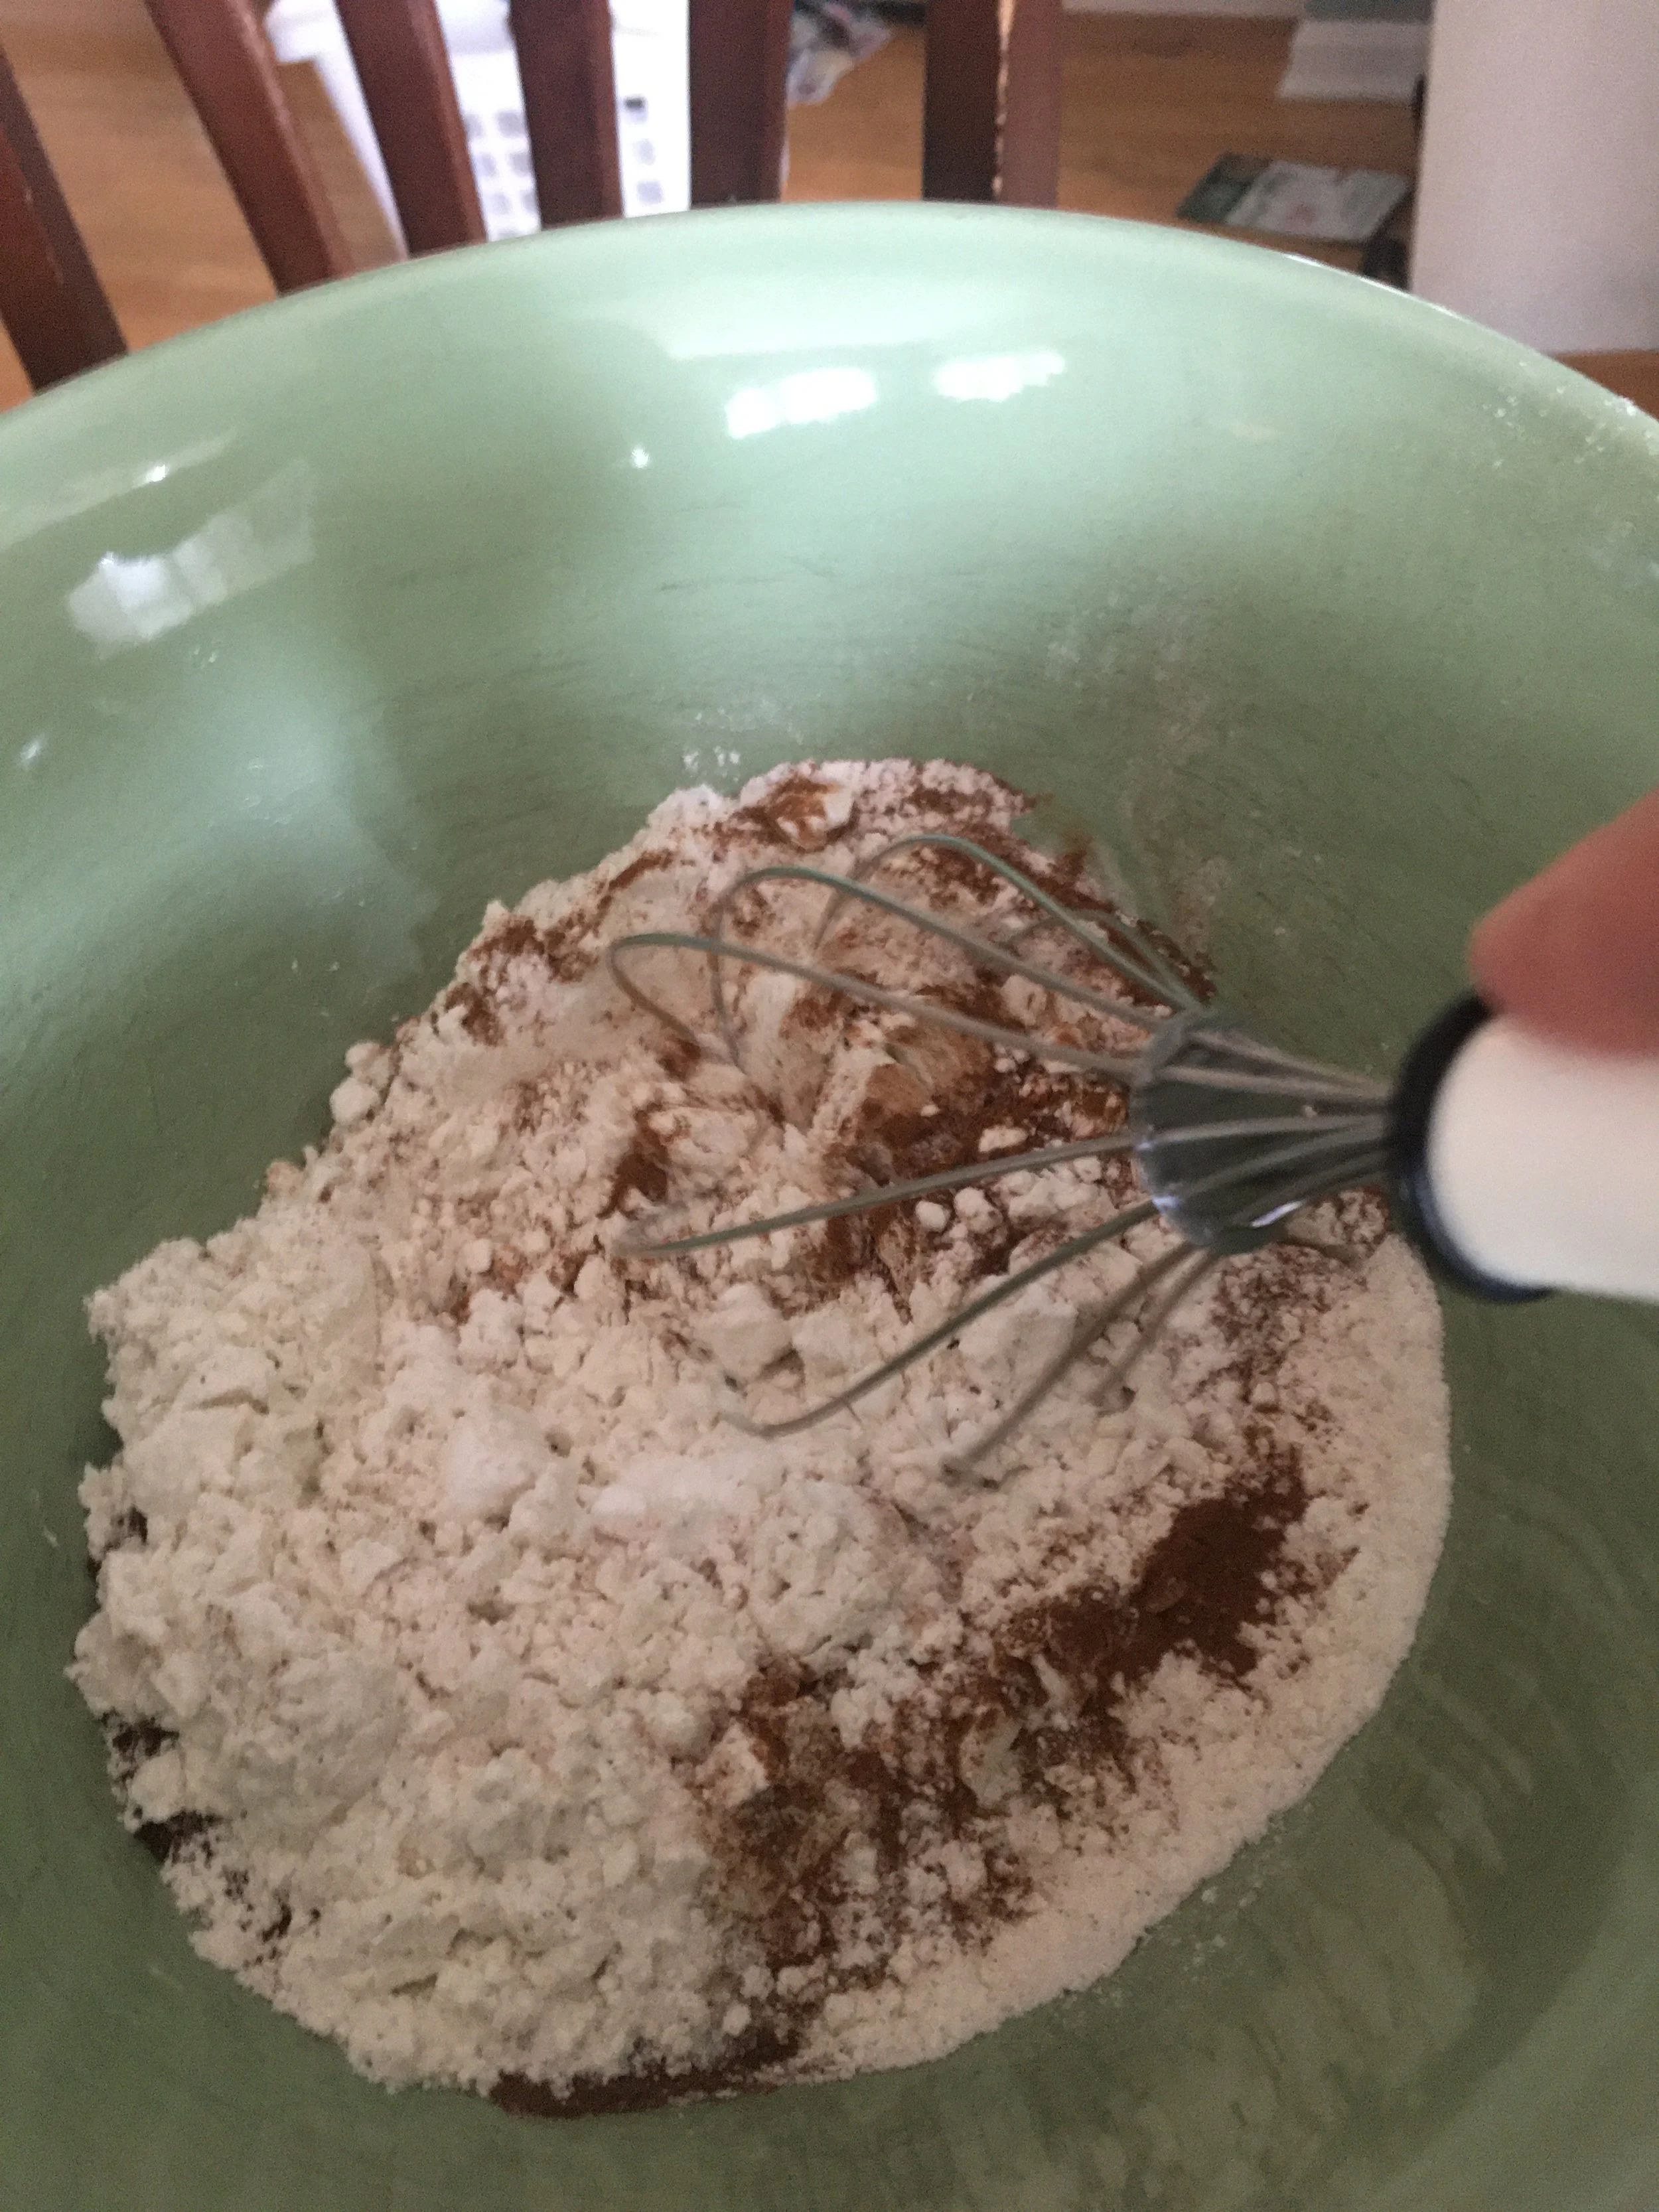
Whisk together the flour, baking powder, baking soda, salt, cloves, and allspice in a medium bowl. Set aside.

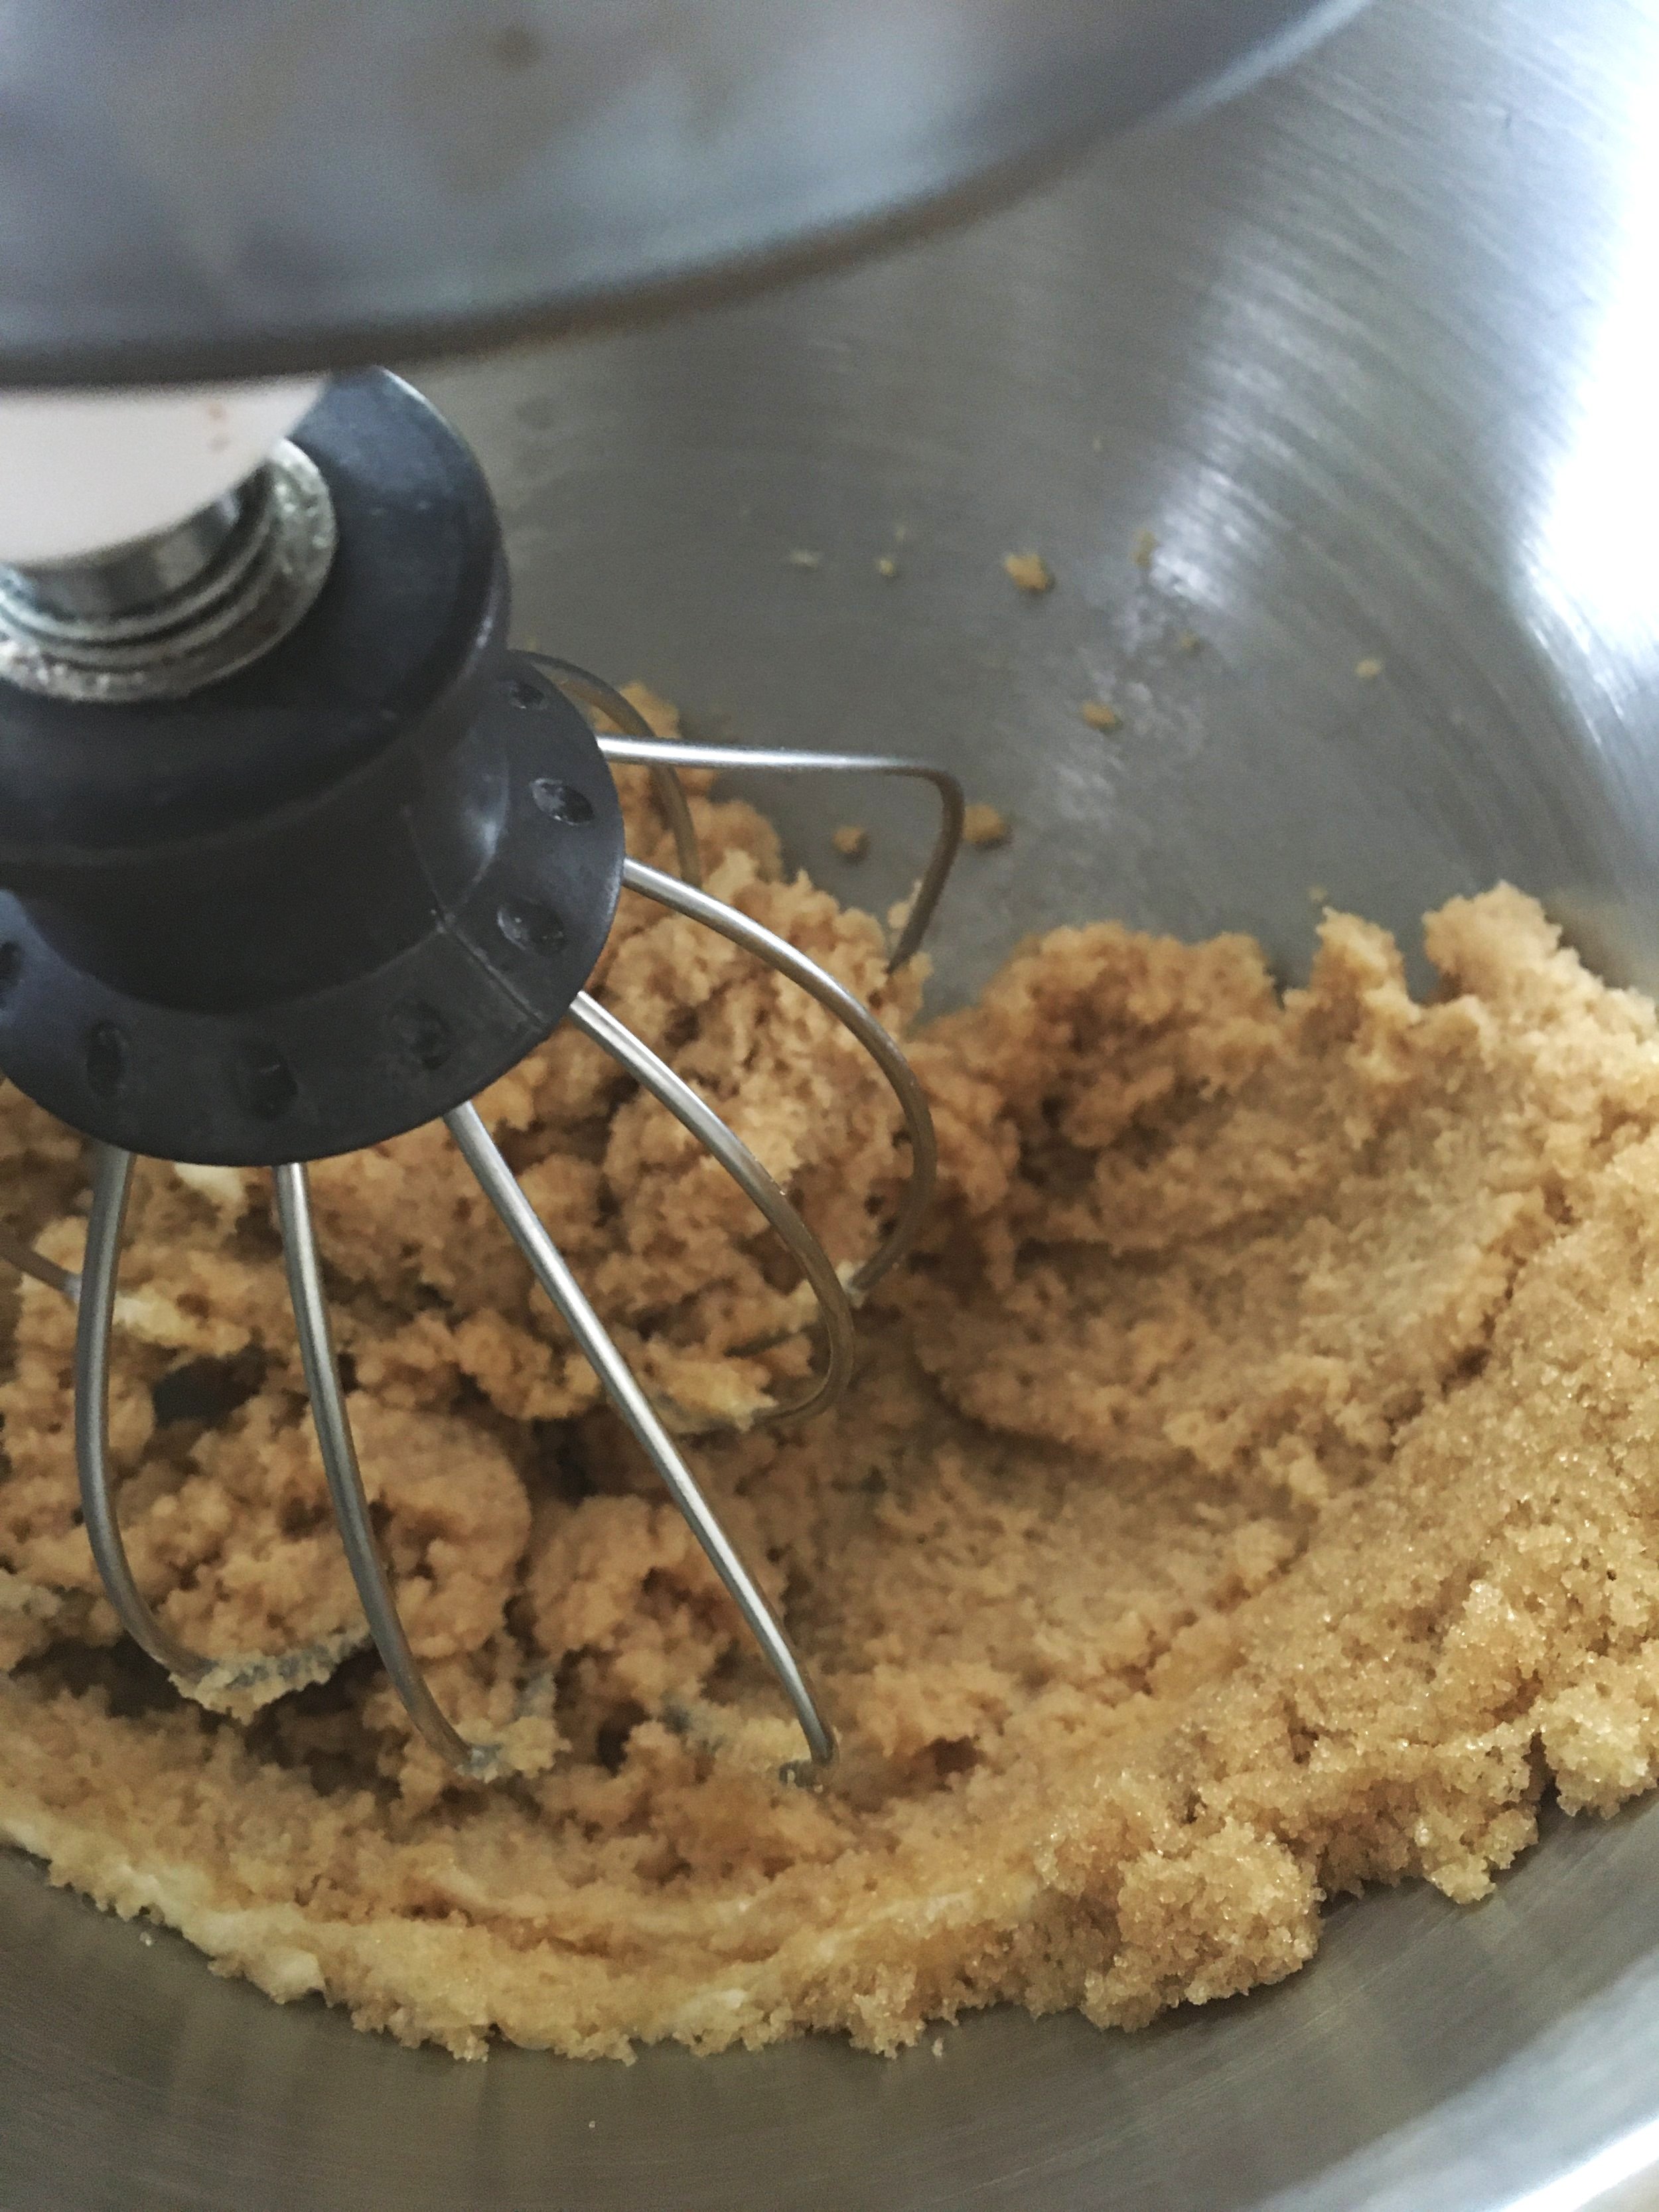
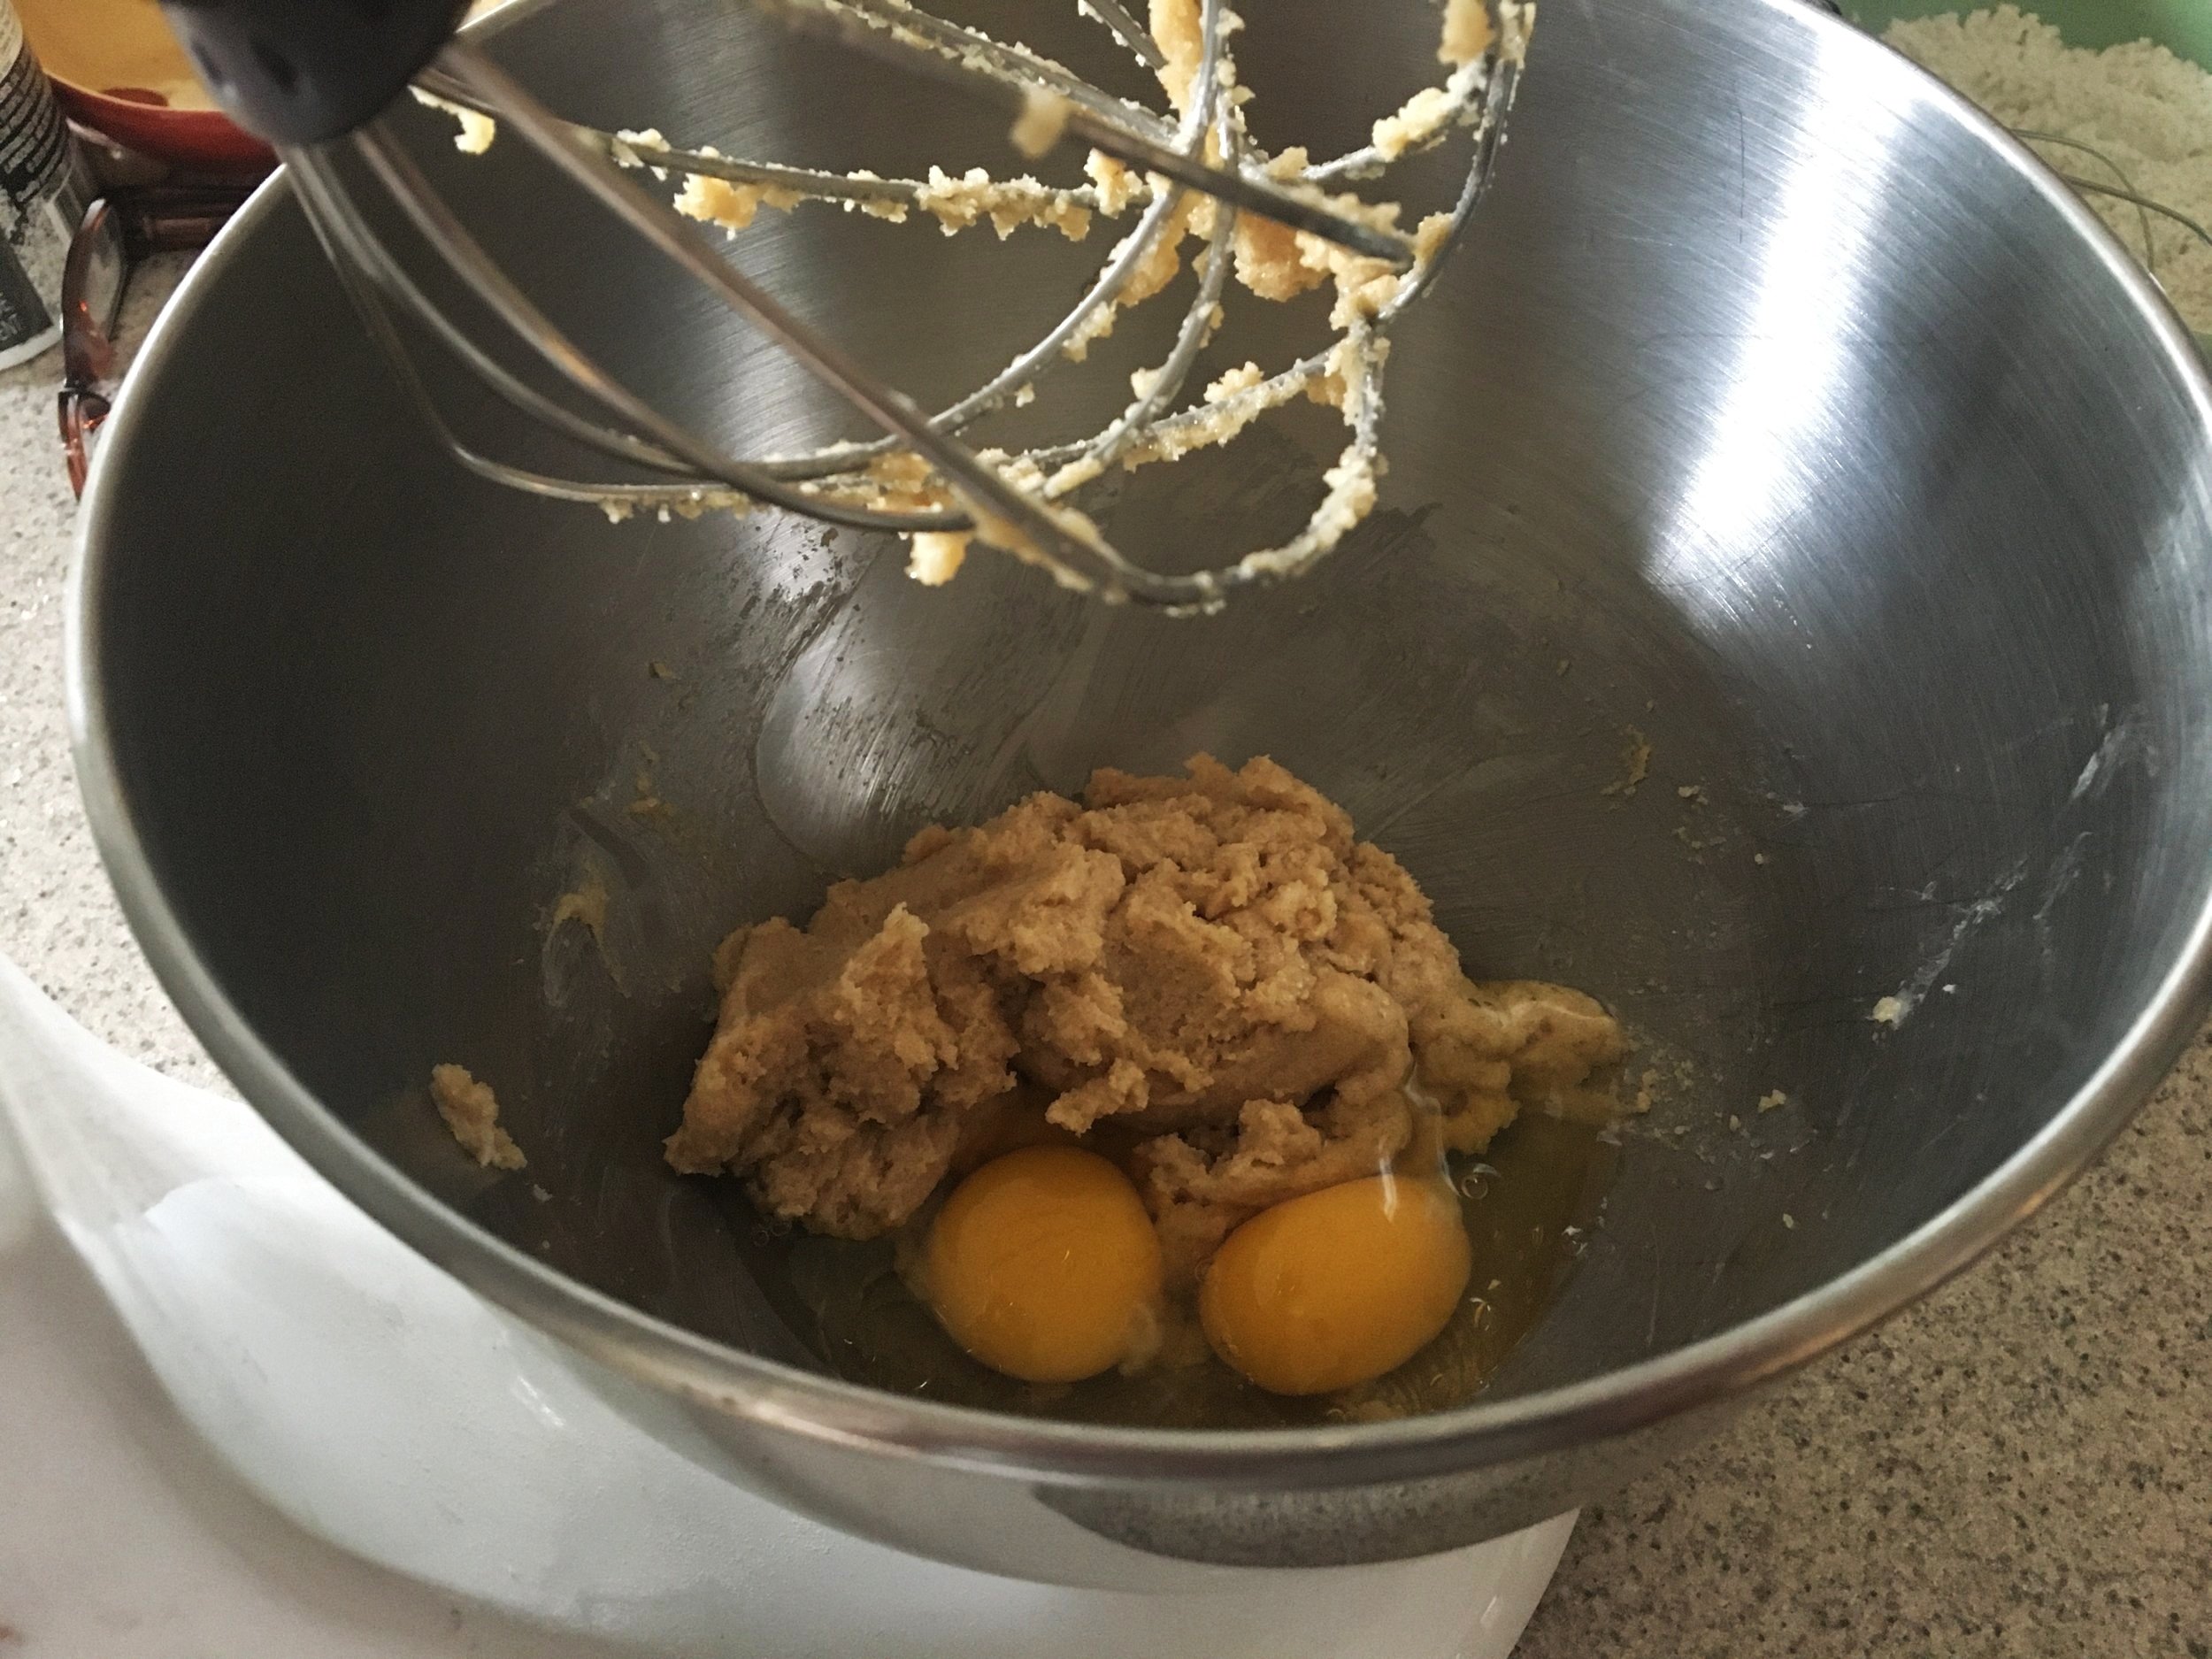
In a large mixing bowl, combine the room-temperature butter and brown sugar, and mix with an electric mixer until combined & creamy, about 30-60 seconds. Add in the room temperature eggs one at a time, and combine again with the mixer.

Add in Cherchies® Apple Butter Spread and lightly beat. Gradually add in the dry ingredients (flour mixture), mixing by hand with a spatula until it’s just incorporated. The batter will be thick. Fill each muffin cup 3/4 full with batter. Bake for 19-21 minutes (rotating cupcake pan halfway through cooking) or until a toothpick inserted in the center comes clean. Ovens vary, so start checking for doneness around 17-18 minutes.

Allow the cupcakes to cool in the pan for 5-10 minutes, then move them onto a cooling rack to cool completely.

Salted Caramel Icing Preparation

Place the room-temperature butter, cooled caramel sauce (if homemade), and salt in a mixing bowl. Turn an electric mixer on medium and beat the butter for 1 minute until it is whipped and fluffy.

Add in the powdered sugar, and beat again on low for 1-2 minutes, scraping down the sides of the bowl with a rubber spatula or until everything is incorporated. Add a tablespoon of milk, cream, or half-and-half if the icing is too thick, and beat until creamy.

In a plastic piping bag (or ziplock bag with the corner snipped off), fit with a piping tip (I used a Wilton 1M tip) and add the frosting. Push the frosting down into the bag. Twist the top of the bag closed and pipe the frosting onto the cupcakes in a circular motion. Drizzle with caramel sauce and sprinkle with coarse sea salt (optional).

Enjoy!
Note** The cupcakes and frosting can be made one day in advance. Make sure to cover tightly and store them in the refrigerator. Unfrosted cupcakes can be frozen for 2-3 months but thaw overnight in the refrigerator when ready to use.- A cooking tip from Sally's Baking addiction.

How to Make Homemade Caramel Sauce

Ingredients

  • 1 cup of brown sugar

  • 6 Tablespoons (Tbsp.) unsalted butter, cut into small pieces

  • 1/2 teaspoon (tsp) sea salt (if you want salted caramel, add up to 1 tsp. salt- Kosher salt is acceptable too)

  • 1/2 teaspoon vanilla (you could substitute your favorite liquor for an extra special adult treat, we won’t tell, but make sure to keep away from the kiddos).

  • 1/2 cup heavy cream or half and half, room temperature

There seems to be some debate on the internet about making homemade caramel sauce. Some suggest melting the sugar with the butter first, whereas others swear by heating it until it dissolves and adding the butter and the rest of the ingredients at the end. I have tried both ways, with the result being the same. The caramelization process happens quickly, so you do not want to walk away, and you need to ensure all your ingredients are measured and in place before you begin.

Start with a medium-sized stainless steel saucepan (ceramic would work fine too). Add the butter chunks to the pan, turn the heat on low, and gently stir the butter with a wooden spoon (you can use a whisk, too) until it melts. Once the butter has melted, add the sugar and continue to stir until the sugar has dissolved. (Sugar will be HOT! Keep a small bowl of cold water nearby in case of splattering sugar). Continue stirring and scrape the sugar that forms on the side with the spoon or a rubber spatula and incorporate it into the mix.

Continue constantly stirring on low until all the sugar has dissolved and you have achieved this rich caramel color and a nutty aroma. Some of the butter may remain on the top. It is okay. It will incorporate once the half-and-half or cream is added. As the caramel comes to a rolling boil on low, continue rapidly stirring. Add salt and vanilla (or liquor) at this time. If you want salted caramel, add 1/2 teaspoon (tsp) of salt.

For the full directions with pictures, follow this link. http://blog.cherchies.com/home/2018/10/27/cooking-tip-how-to-make-homemade-caramel-dip

Yum

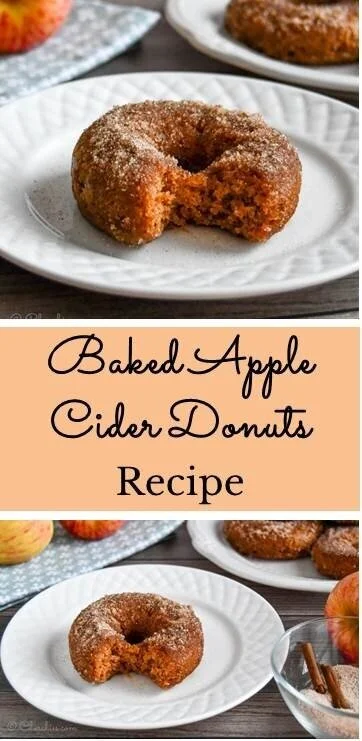
Baked Apple Cider Donuts Recipe

breakfast, desserts, snacksSheri SpalloneComment
Baked Apple Cider Donuts Recipe

Baked Apple Cider Donuts Recipe

Prep time: 30 mins

Cook time: 10 mins

Difficulty: Easy

One of the fondest memories I remember growing up was Apple Cider Donuts from our local orchard. It was always a special treat when my parents would bring home a bag full of them for my sister and me to enjoy. The ones from the orchard were deep-fried and dredged in cinnamon sugar, so the outside was crisp and sweet, yet the inside was fluffy and moist. Yummy!

Fall is notorious for everything apples, apple cider, applesauce, apple butter, and so much more. We will not even touch on pumpkin spice (that’s for another blog post). I am always looking for new recipes for Cherchies® Apple Butter Spread, and I ran across this recipe for Baked Apple Cider Donuts, which I adapted from littlespicejar.com. Even though most foods deep-fried are incredibly decadent, I prefer the baked version, and these melt-in-your-mouth donuts will not disappoint. The donuts were nicely crispy on the outside and fluffy in the middle, with the perfect cinnamon/sugar richness to round out your taste buds, just like I remember, sans all the calories.

So the next time you have a craving for the flavors of Fall, whip up these Baked Apple Cider Donuts for your family but grab some for yourself because they will disappear right before your eyes.

Comment below and let us know if you made this tasty recipe.

Thank you for visiting, and please come back again.

Donut ingredients: (adapted from littlespicejar.com)

  • 2 cups apple cider

  • 2 cups all-purpose flour

  • 1 1/2 teaspoon baking powder

  • 1 1/2 teaspoon baking soda

  • 1 teaspoon cinnamon

  • 1/2 teaspoon ground cloves

  • 1/4 teaspoon salt

  • 1 large egg

  • 2 tablespoons salted butter, melted

  • 2/3 cup light brown sugar

  • 1/2 cup buttermilk (or 1/2 cup half and half, mixed with 1 tablespoon of white vinegar)

  • 2 tablespoons Cherchies® Apple Butter Spread

  • 1 teaspoon vanilla extract

    For the cinnamon-sugar coating

  • 3 tablespoons butter, melted

  • 1/2 cup granulated sugar

  • 1 tablespoon cinnamon

Preparation

  1. Begin by simmering the apple cider in a small saucepan over medium heat for 15-20 minutes until it reduces down to about 1/2 cup. Pour the apple cider into a small bowl and refrigerate while you prepare the donut batter.

  2. Preheat oven to 350 degrees. Position a rack in the center of the oven. Spray a donut pan (we used a silicone donut pan from Wappa) with non-stick cooking spray and set aside.

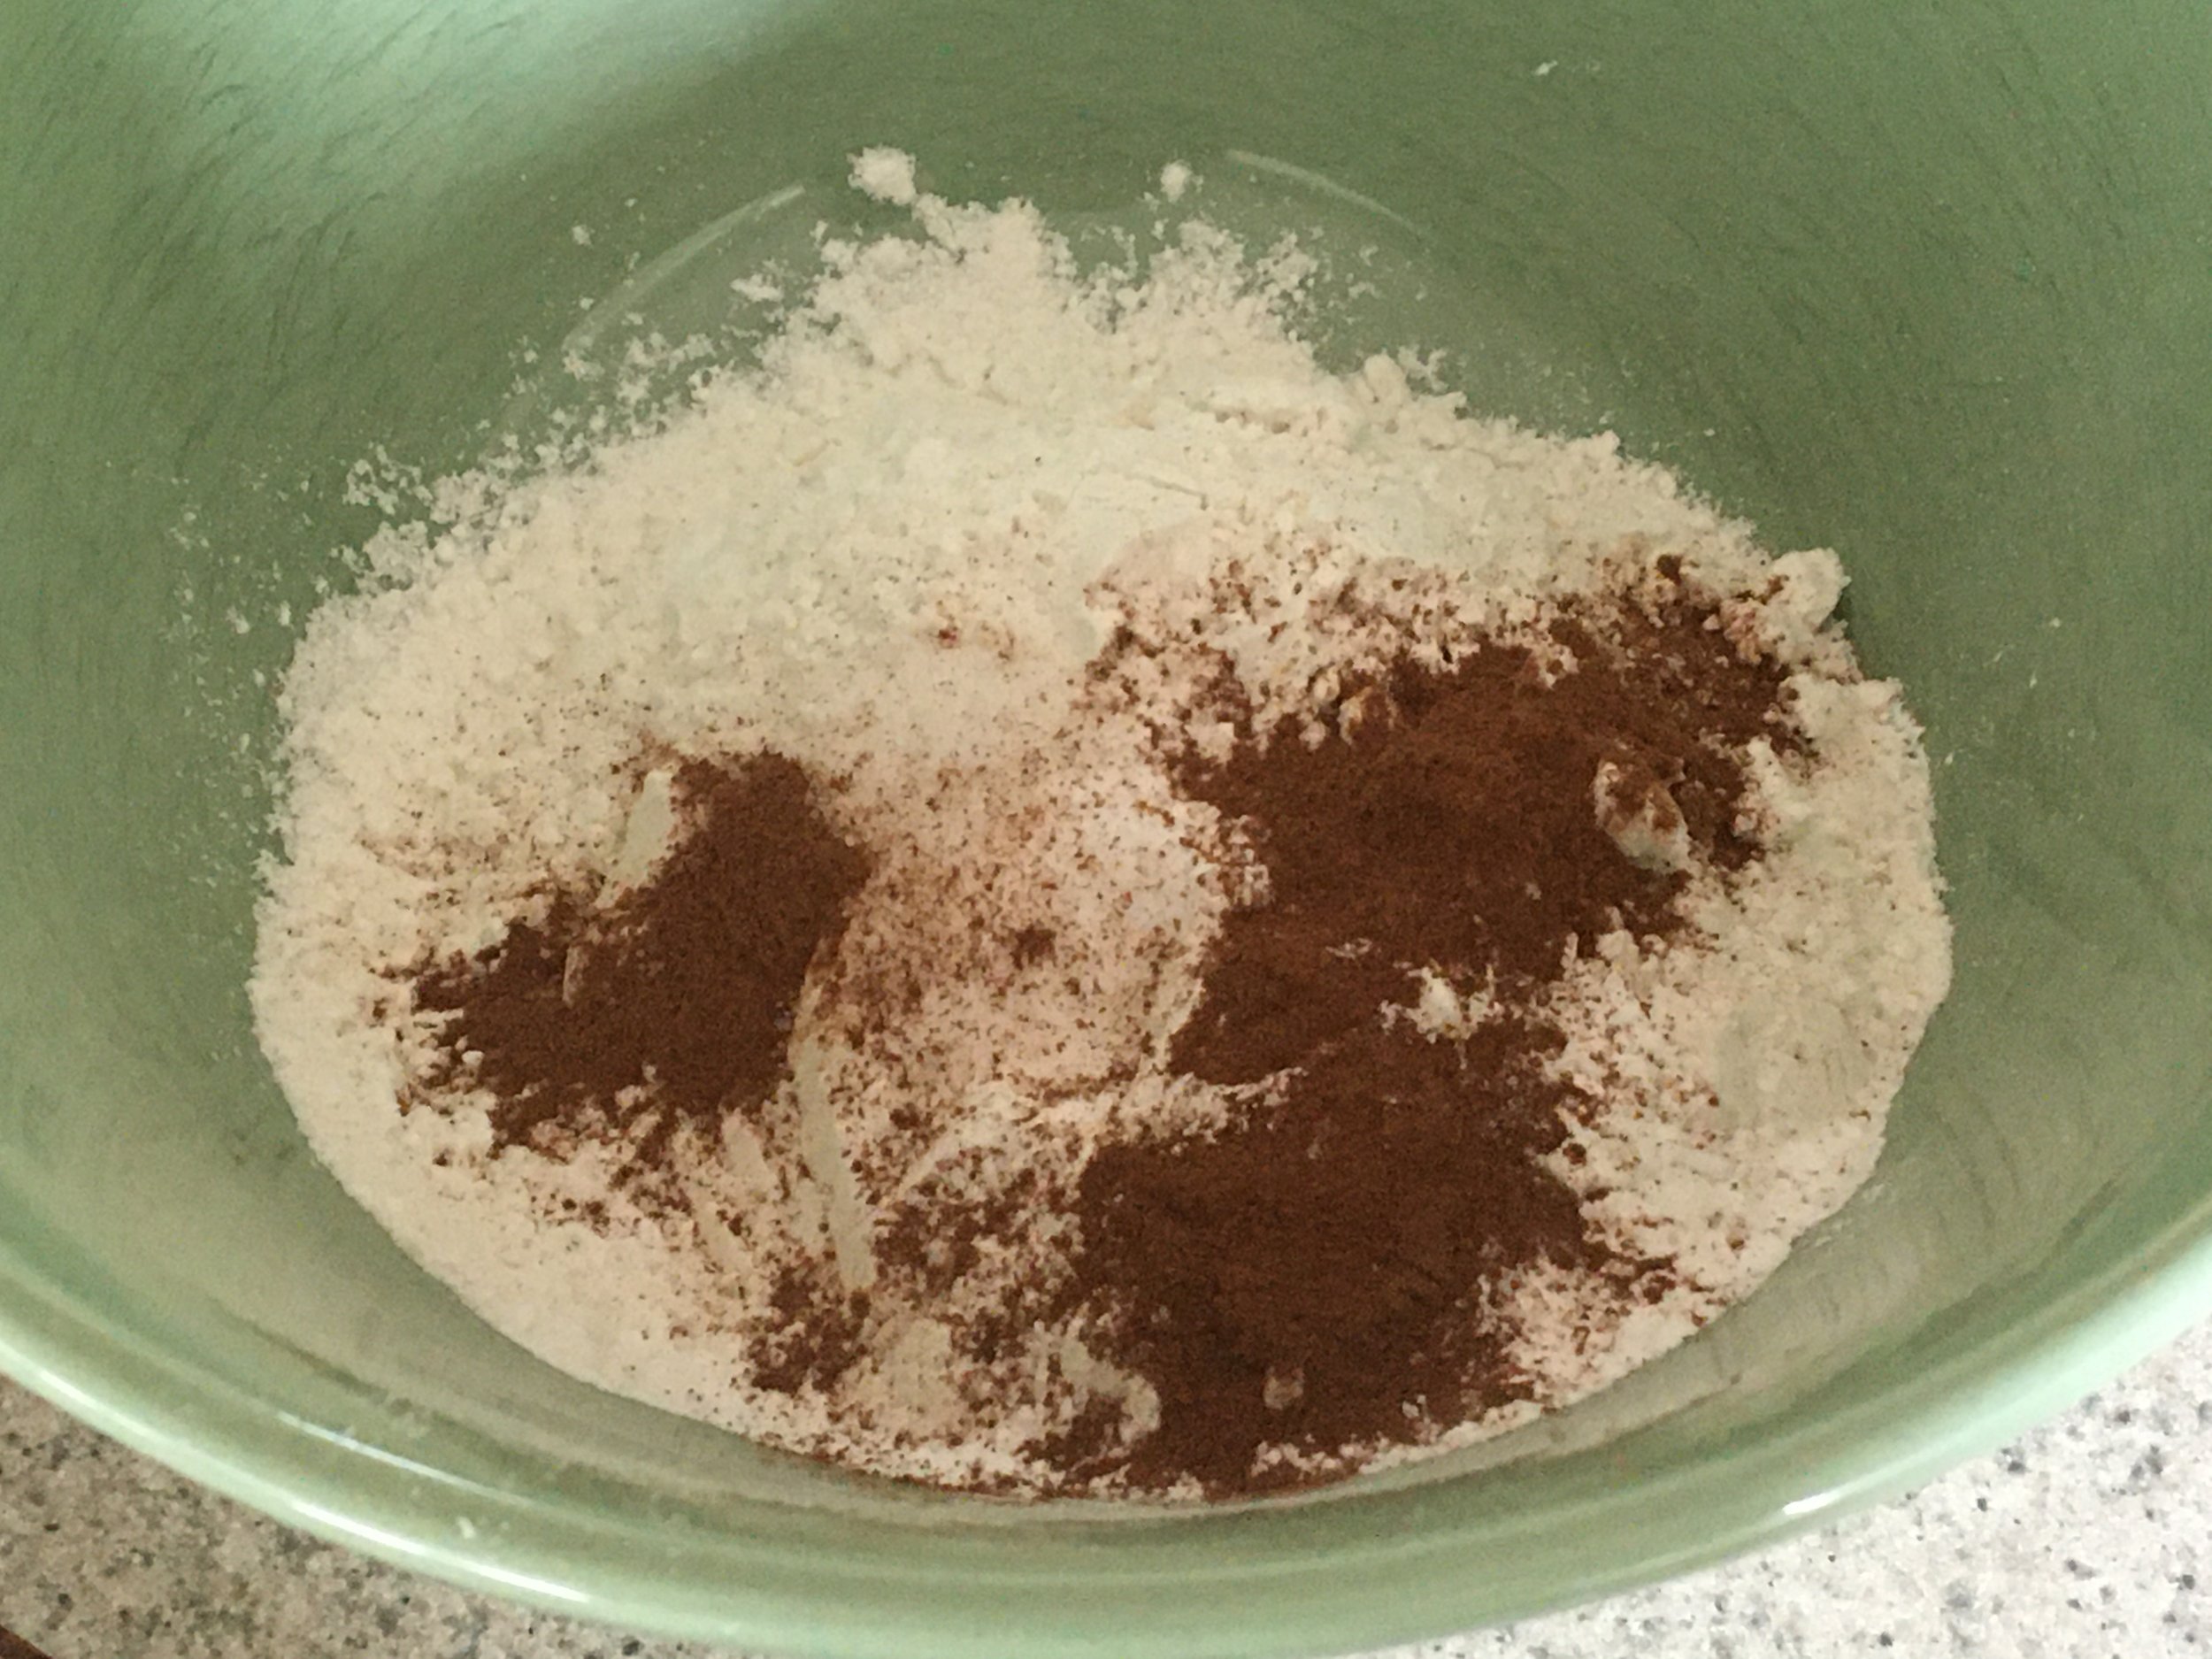
  3. In a large bowl, toss together the flour, baking powder, baking soda, cinnamon, cloves, and salt, set aside. In a medium bowl, combine the egg, melted butter, and brown sugar, whisk until smooth. Then, add in the apple butter, vanilla, buttermilk, and concentrated apple cider.

  4. Add the wet ingredients to the dry ingredients and whisk until combined.

  5. Either pour the batter by the spoonful (about 3/4s of the way full) into the prepared donut pans (We used Wappa silicone donut pans) or add batter to a large ziplock-type bag and snip off the end with a pair of kitchen scissors for a make-shift pastry bag. If you go this route, you will need to squeeze the batter into the donut pan. In either case, make sure to not overfill.

  6. Bake donuts for 9-12 minutes or until done. Insert a toothpick into a donut and remove. The toothpick should come out clean.

For the cinnamon sugar coating:

  1. In a medium bowl, combine the sugar and cinnamon together. Dip the tops of each donut into the melted butter then coat with the cinnamon-sugar mixture. Repeat with all the donuts. For best results, donuts should be eaten the same day but they can be stored for up to 2 days if tightly wrapped and kept at room temperature.

    Enjoy!
Yum

Spooky Apple Dip Recipe

appetizers, desserts, parties, snacksSheri SpalloneComment
Spooky Apple Dip Recipe

Spooky Apple Dip Recipe

Hello friends! Halloween is a knocking. It is the perfect time to whip up this Spooky Apple Dip recipe, featuring cream cheese, mini chocolate chips, Health Bar Bits, homemade caramel sauce**, and the secret ingredient Cherchies® Apple Butter Spread! Of course, the little candy eyes make this dish horrifyingly adorable.   

I don't know whether it is the inner child in me or the fact we have children (and their excitement over the years has excited us), but I have always been a sucker for party themes, themed food, theme decorations, etc., and Halloween is no exception. Our children always loved all the festive Halloween foods we would serve at our pre-Halloween celebration with family and friends.  

So, if you are looking for a quick and easy spooktacular Halloween treat and love caramel apples, this is the perfect dip to share at your next Halloween gathering. Serve it with sliced apples or even graham crackers, and you are good to go.

**Note: You could easily substitute store-bought caramel sauce if you're in a pinch, but homemade is easy and much better.

Enjoy, and Happy Halloween!

Thanks for stopping by. Comment below if you have tried this delicious recipe. Come back again for more family-tested recipesentertaining ideas, and cooking tips using all our favorite Cherchies® gourmet products.

Follow us on social media: FacebookInstagram, and Pinterest.

Ingredients

  • 1 (8 oz.) block cream cheese, room temperature

  • 1/2 jar Cherchies® Apple Butter Spread

  • 1 cup Homemade Caramel Sauce (you could use store bought but homemade is so much better!)

  • 1 cup mini chocolate chips

  • 1 cup Heath Bar Toffee bits (or your favorite toffee, crushed into small pieces)

  • Candy “eyes” (We used Wilton candy eyes, we found at our local Michael’s, but they are available online as well.)

  • Apple slices for dipping

Caramel Sauce Ingredients- Make this before assembling the spooky dip to allow the caramel to cool. For the full directions with pictures, please visit “How To Make Homemade Caramel Sauce” on our blog.

  • 1 cup of brown sugar

  • 6 Tablespoons (Tbsp.) unsalted butter, cut into small pieces

  • 1/2 cup heavy cream or half and half, room temperature

  • 1/2 teaspoon (tsp) sea salt (if want salted caramel, add up to 1 tsp. salt- Kosher salt is fine too)

  • 1/2 teaspoon vanilla (you could substitute your favorite liquor for an extra special adult treat…we won’t tell, but make sure to keep away from the kiddos)

Preparation for Caramel Sauce

The caramelization process happens quickly, so make sure all your ingredients are measured and in place before you begin. Start with a medium-sized stainless steel sauce pan (ceramic would work just fine too). Add the butter pieces to the pan, turn the heat on low, and gently stir the butter with a wooden spoon (you can use a whisk too) until it melts.

Once the butter has melted, add the sugar and continue to stir until the sugar has melted. (Sugar will be HOT! Trust me, and learn from my mistakes, do not be tempted to taste the caramel at any time, until it has cooled! Many sites I researched suggest having a bowl of cold water on hand in case of flying molten sugar. Yikes! Do not be afraid, but be safe.) As you are stirring, scrape the sugar that forms on the side with the spoon or a rubber spatula and incorporate into the mix.

Continue stirring constantly on low until all the sugar has dissolved and you have achieved a rich caramel color and a nutty aroma. Some of the butter may remain on the top. This is okay. It will incorporate once the half and half or cream is added. As the caramel comes to a rolling boil on low, continue rapidly stirring. Add salt and vanilla (or liquor) at this time. If you want salted caramel, then add an additional 1/2 teaspoon (tsp) of salt.

The last part is the cream or half and half. Add the cream slowly and stir stir stir! Again, be careful, this is where the caramel will get angry with you, as it will sputter and possibly throw molten sugar your way. You must prevail. I’m teasing… it really is very easy! Simply continue stirring rapidly until all the ingredients are incorporated. Remove the caramel from the heat and allow to cool. Turn off the stove. The caramel will thicken as it cools.
Preparation for Spooky Apple Dip

Combine the softened cream cheese and the apple butter spread in a medium bowl with a hand-held mixer and mix on medium-low speed until combined. With a spatula, spread the cream cheese mixture into a pie plate or shallow dish.

Once the caramel sauce has cooled and thickened, evenly pour it over the cream cheese mixture. Next, sprinkle the mini chocolate chips over the caramel, followed by the toffee bits.

Carefully place the candy eyes on top and serve with apples for a spooktackular Halloween presentation.

spooky apple butter dip2.jpg

Enjoy and Happy Halloween!
apple butter dip.jpg


Yum